
Start With The Delivery Note And Packing Check
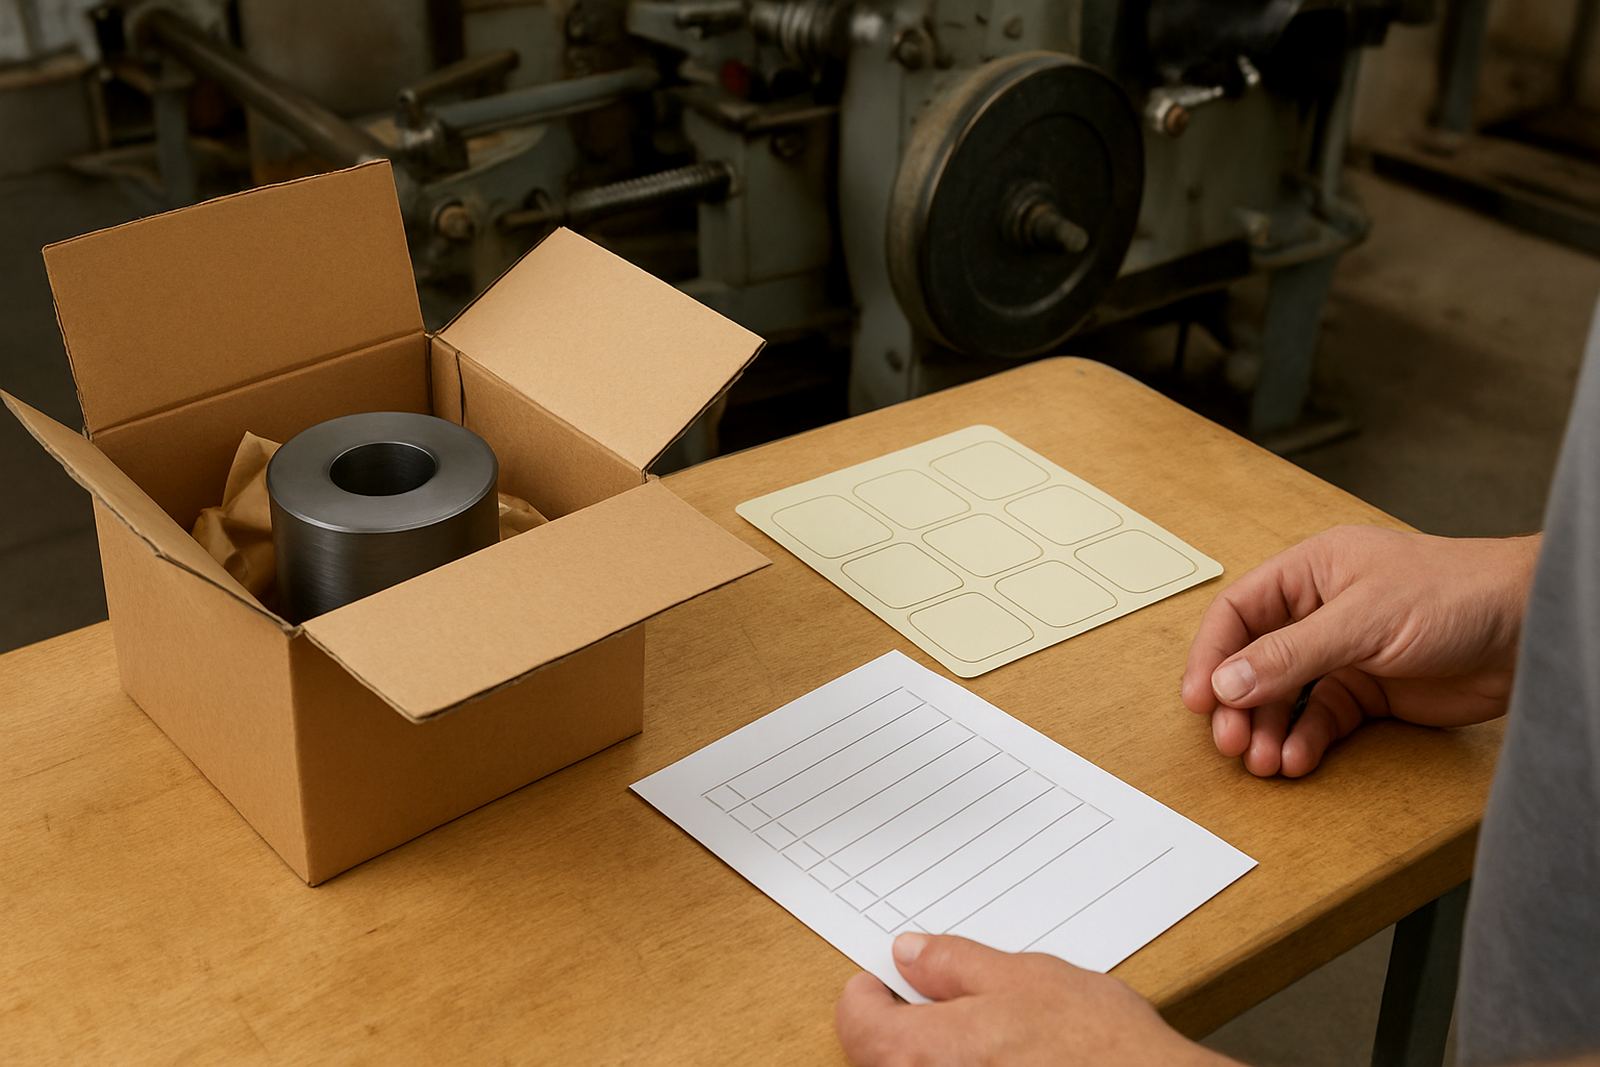
Before opening every wrap, compare the packing slip to what was ordered. Confirm the job name, die type, repeat size, quantity, and any notes about bearer setting, magnet checks or press trial support. If the order is for Germiston supply or delivery into Johannesburg, Pretoria, Durban, Pinetown, Cape Town, Bellville or Gqeberha, check that the carton labels match the destination and the job number on your paperwork.
Keep the outer packaging intact until you have taken a quick visual look. A crushed carton, wet wrap or loose pallet straps can point to handling damage, especially on longer coastal runs where moisture and salt air can work into the packing.
- Check the item count against the delivery note
- Confirm the die size, repeat and tooth form
- Note any visible damage before opening fully
- Take photos of the outer pack and labels
Confirm The Die Matches The Approved Drawing
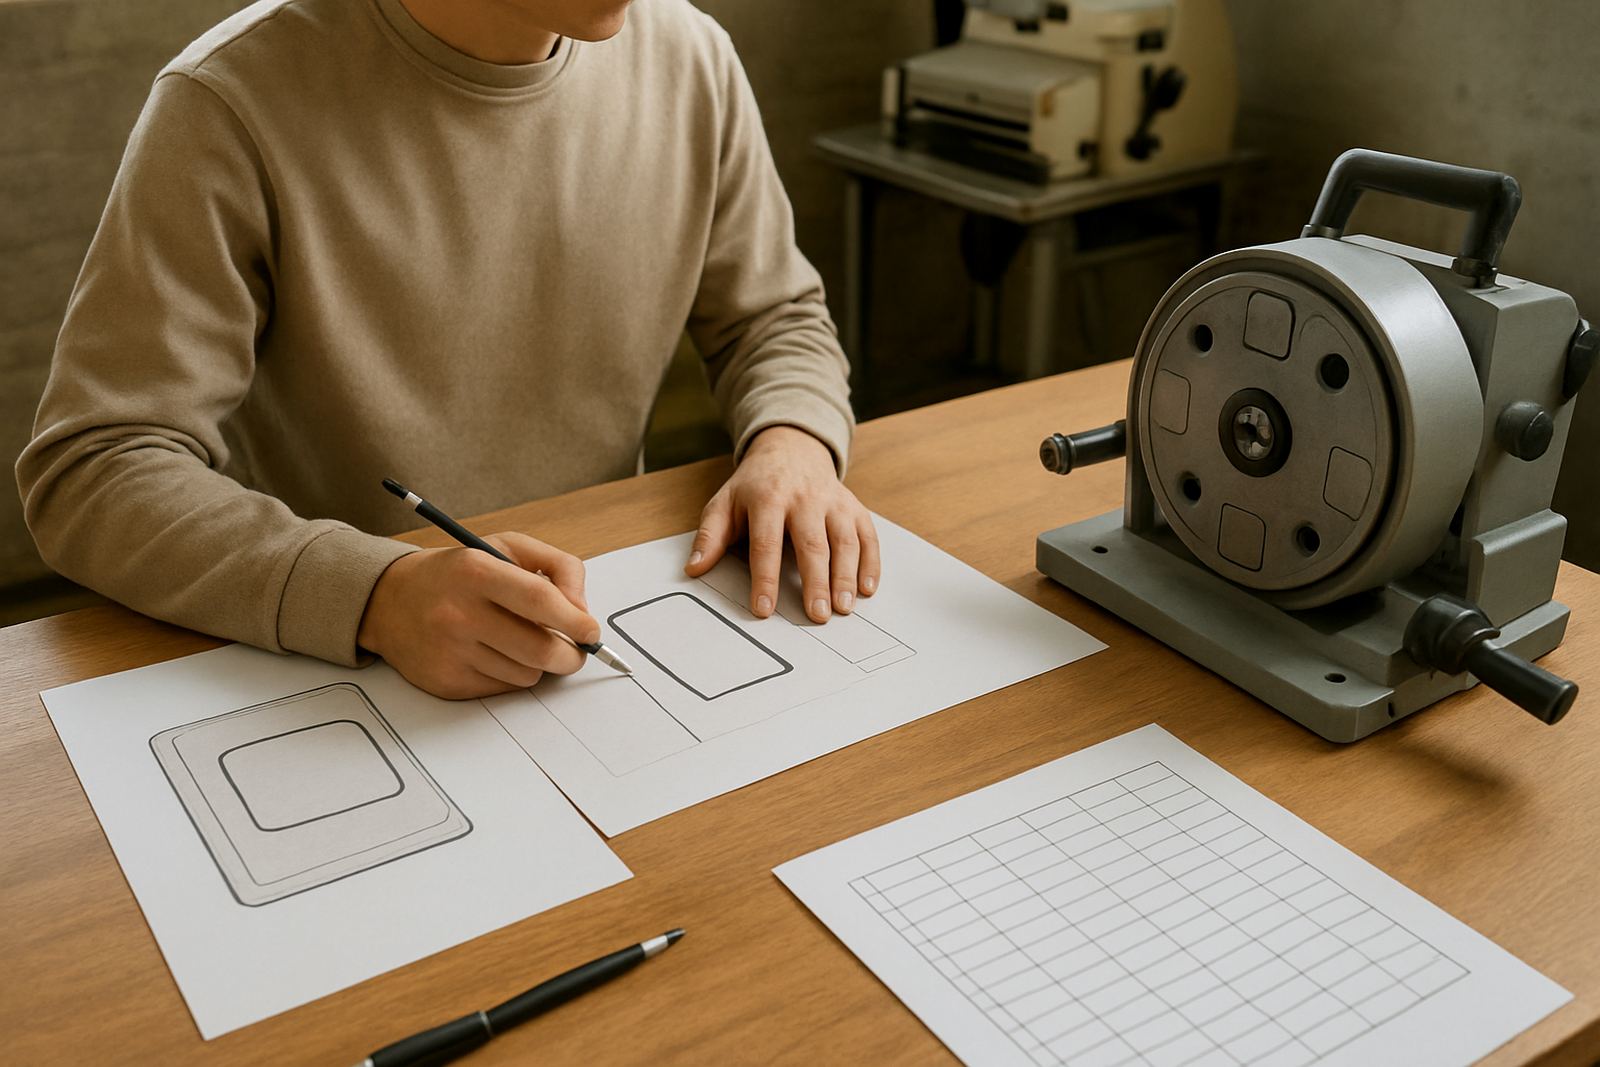
Lay the die out on a clean flat surface and compare it with the approved CAD proof or final drawing. Measure overall length, repeat, and any critical cut positions. On a first delivery, a small offset can cause problems on press, so check the basics carefully before you book production time.
Use the same measuring tool your team normally trusts, and if possible measure twice from the same datum point. For repeat work, compare the new die against the previous approved sample. If the die is a flexible magnetic type, also check that the magnetic backing sits evenly and that there is no twist across the body.
- Overall dimensions match the approved drawing
- Cut positions line up with the job sample
- No twisting, bowing or uneven seating
- Repeat matches the previous approved version if it is a repeat order
Check Cutting Surfaces, Bearings And Magnet Contact
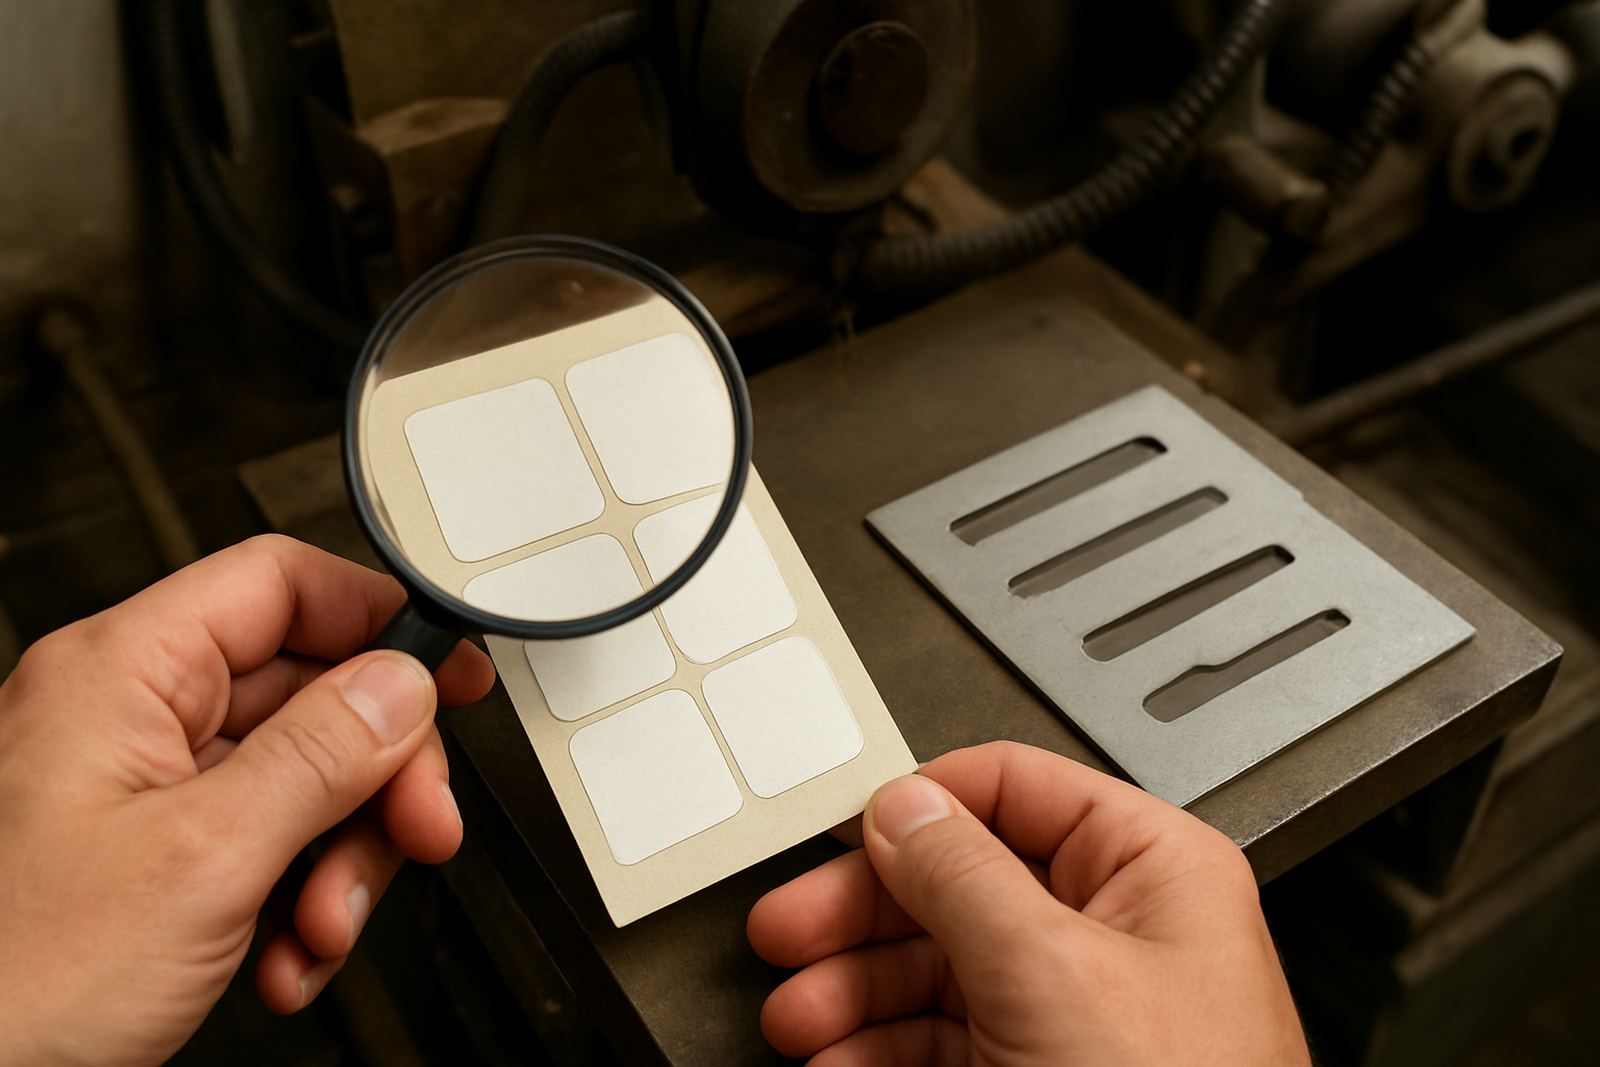
Look closely at the cutting edge, bearer areas and any contact points that will run against the cylinder or base. A clean edge should be free of dents, nicking or heavy burrs. On rotary solid dies and magnetic cylinders, inspect the running surfaces for marks that could show up as pressure variation on the press.
If your team runs in high humidity areas like Durban or Gqeberha, make sure there is no early surface oxidation. In dry inland conditions, dust can settle in grooves and around the edges, so wipe the die with a clean lint free cloth and check again. Small marks matter because they can become waste once the press is running at speed.
- Cutting edge is even and clean
- No chips, burrs or dents along the working edge
- Bearers and contact faces look consistent
- Magnetic hold is even across the full length
Run A Simple Fit Test Before Press Time Is Booked
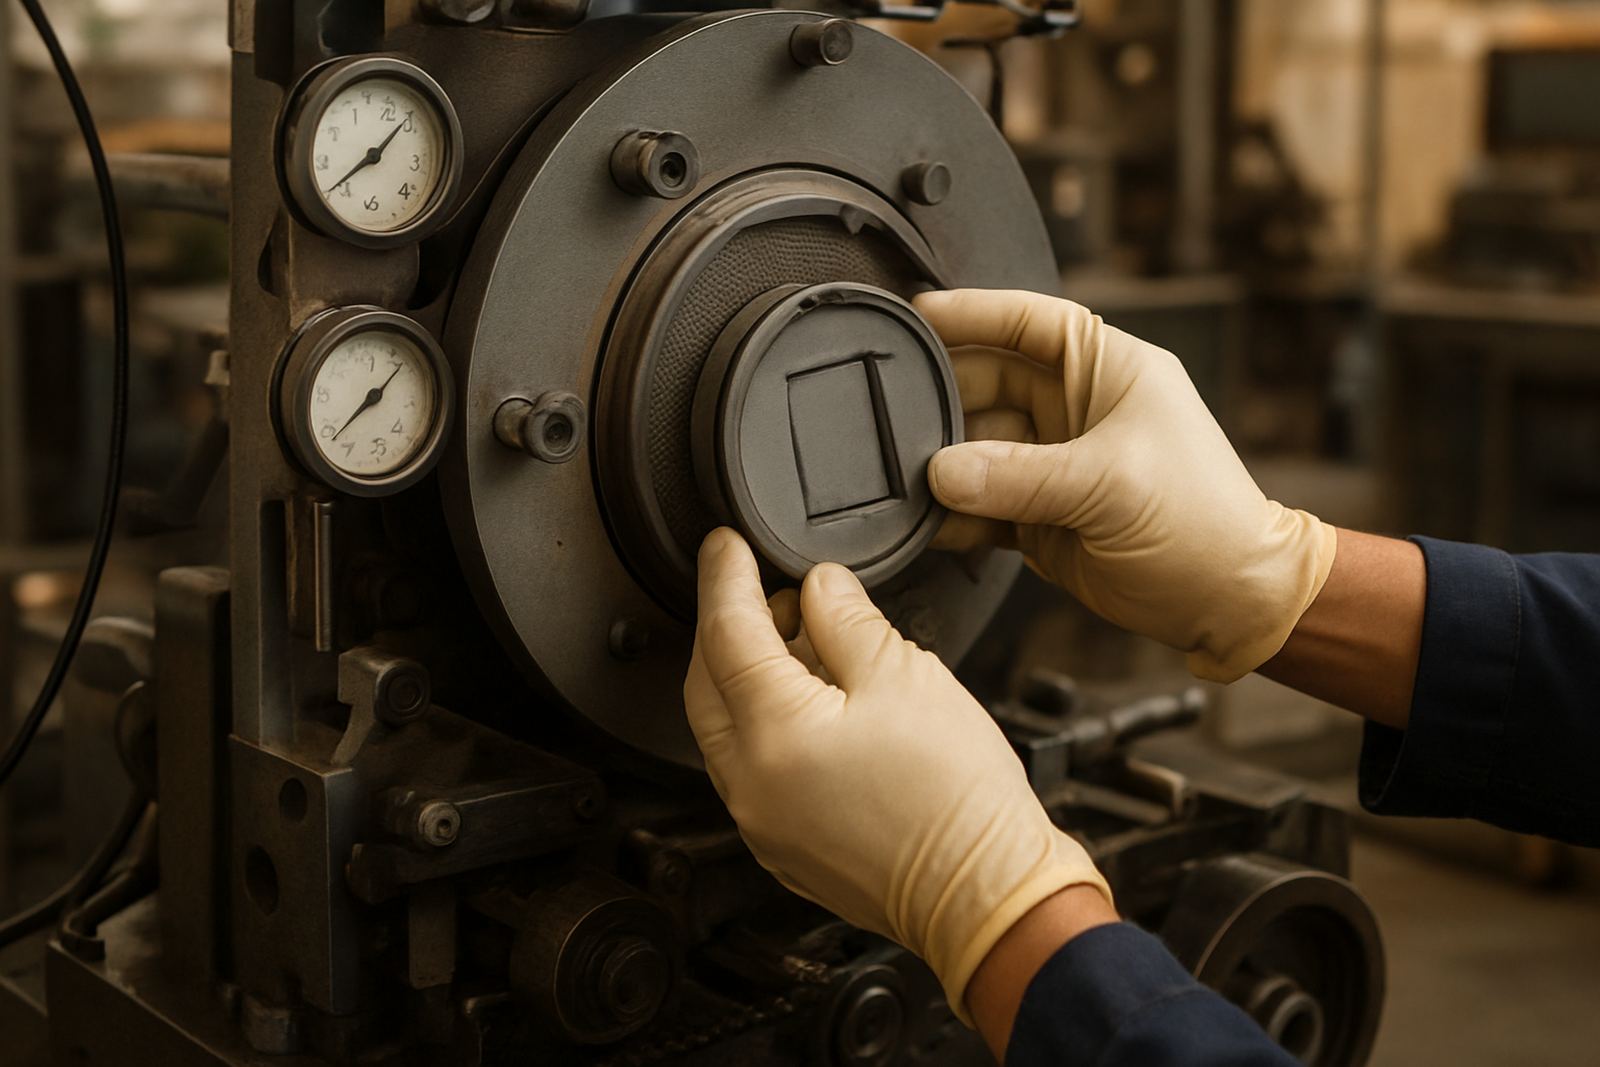
Do a dry fit before you schedule the press. Mount the die or cylinder according to your normal setup method and confirm that it seats correctly, locks up properly, and clears adjacent tooling. If the fit feels tight or loose, stop and record the exact point of concern rather than forcing it into place.
This is also the right time to check bearer setting and side registration. A first delivery is the easiest stage to catch a fit issue because the press is not yet loaded with paper and ink. If your team is working under load shedding pressure or a short delivery window, this simple check can save hours later on.
- Die seats properly on the press or holder
- Lock up is secure with no movement
- Clearance is correct on the full run path
- Bearer setting and side registration are within tolerance
Record What You Found And Keep One Person Responsible
Once the inspection is done, record the result in a simple job file. Include the date, who checked it, what was measured, and any notes about pack condition or fit. If something looks off, one person should own the follow up so the issue does not get lost between prepress and the pressroom.
For converters with multiple shifts, this record helps the next operator understand what has already been checked. It also makes repeat matching easier when the same label is reordered later. Clear notes prevent guesswork and help keep urgent remakes to a minimum.
- Date and time of inspection
- Name of the person who signed off the check
- Measurements taken and tools used
- Any photos, notes or deviation records
When To Stop And Ask For A Correction
Stop the job if the die is damaged, the repeat is off, the fit is wrong, or the cutting edge does not look safe to run. Do not try to compensate with extra pressure or a rushed setup. That usually leads to waste, worn tooling and poor register across the run.
Contact the supplier through the enquiry form on the contact page and give a clear description of the fault, plus photos and measurements if possible. An exact report shows whether the die needs a correction, a regrind or an urgent remake. That helps keep your production schedule steady whether the job is bound for Pretoria, Cape Town or a coastal delivery run.
- Stop if the die does not match the approved spec
- Stop if the edge is damaged or unsafe
- Stop if the fit or bearer contact is wrong
- Send clear photos and notes with the enquiry