
1. Confirm the die type before it leaves the packing bench
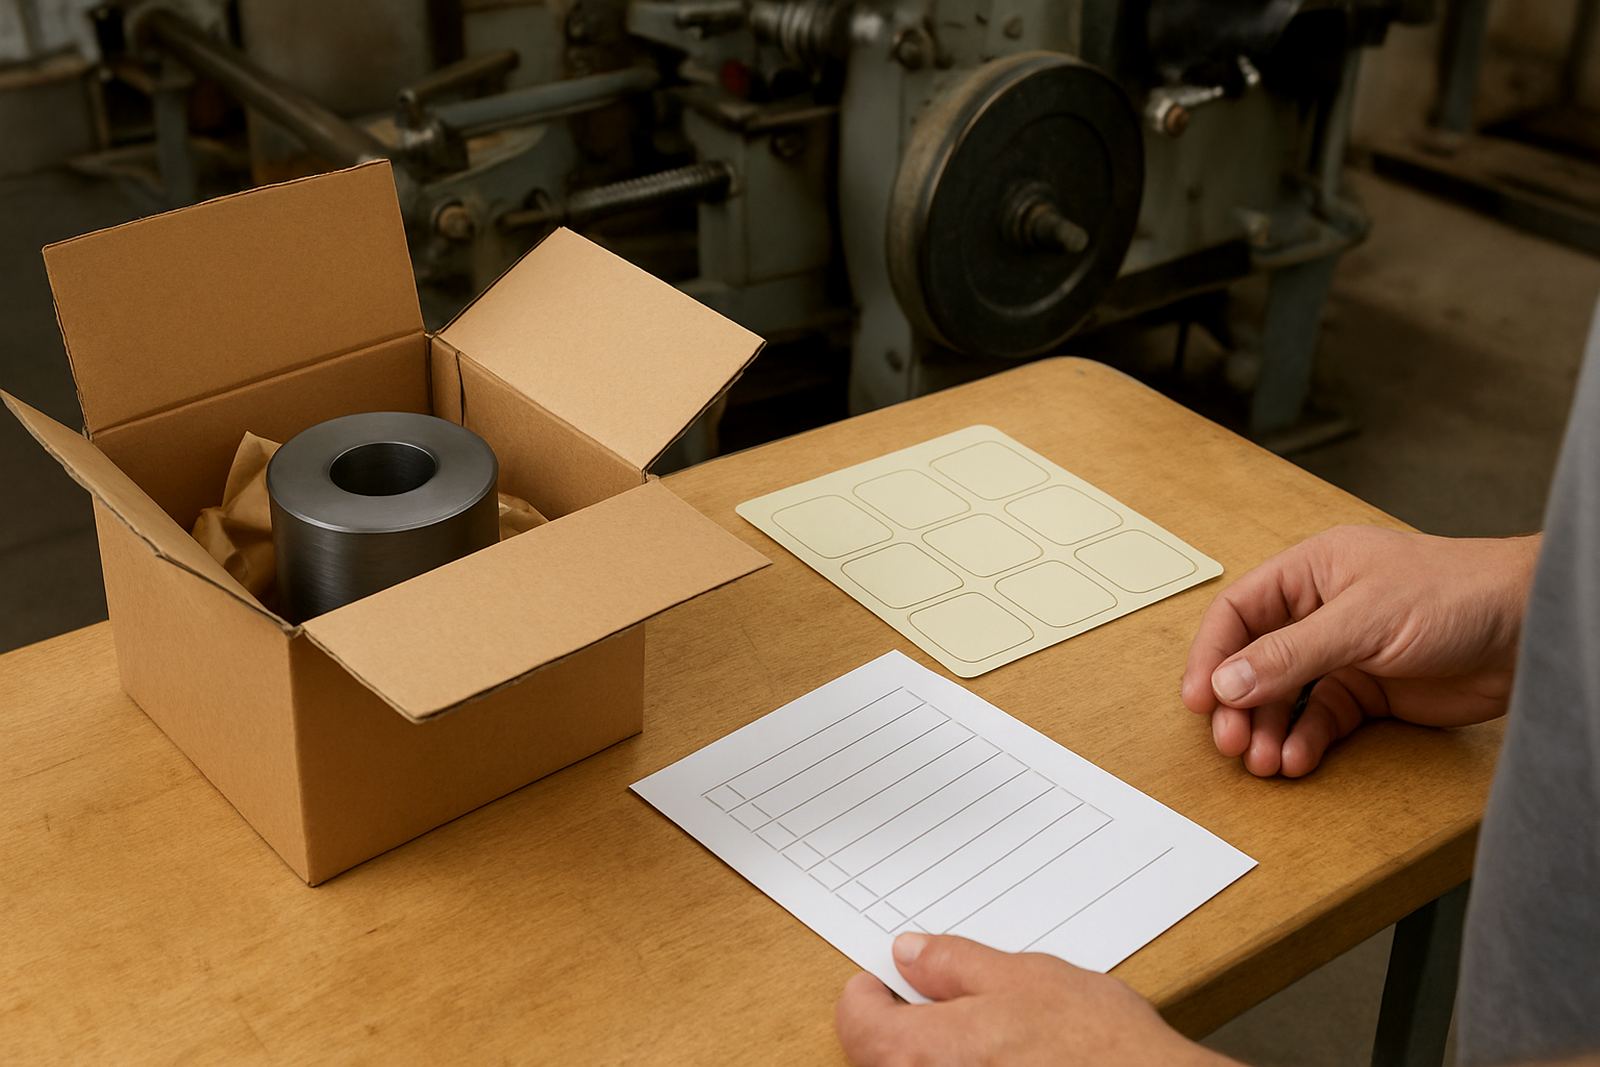
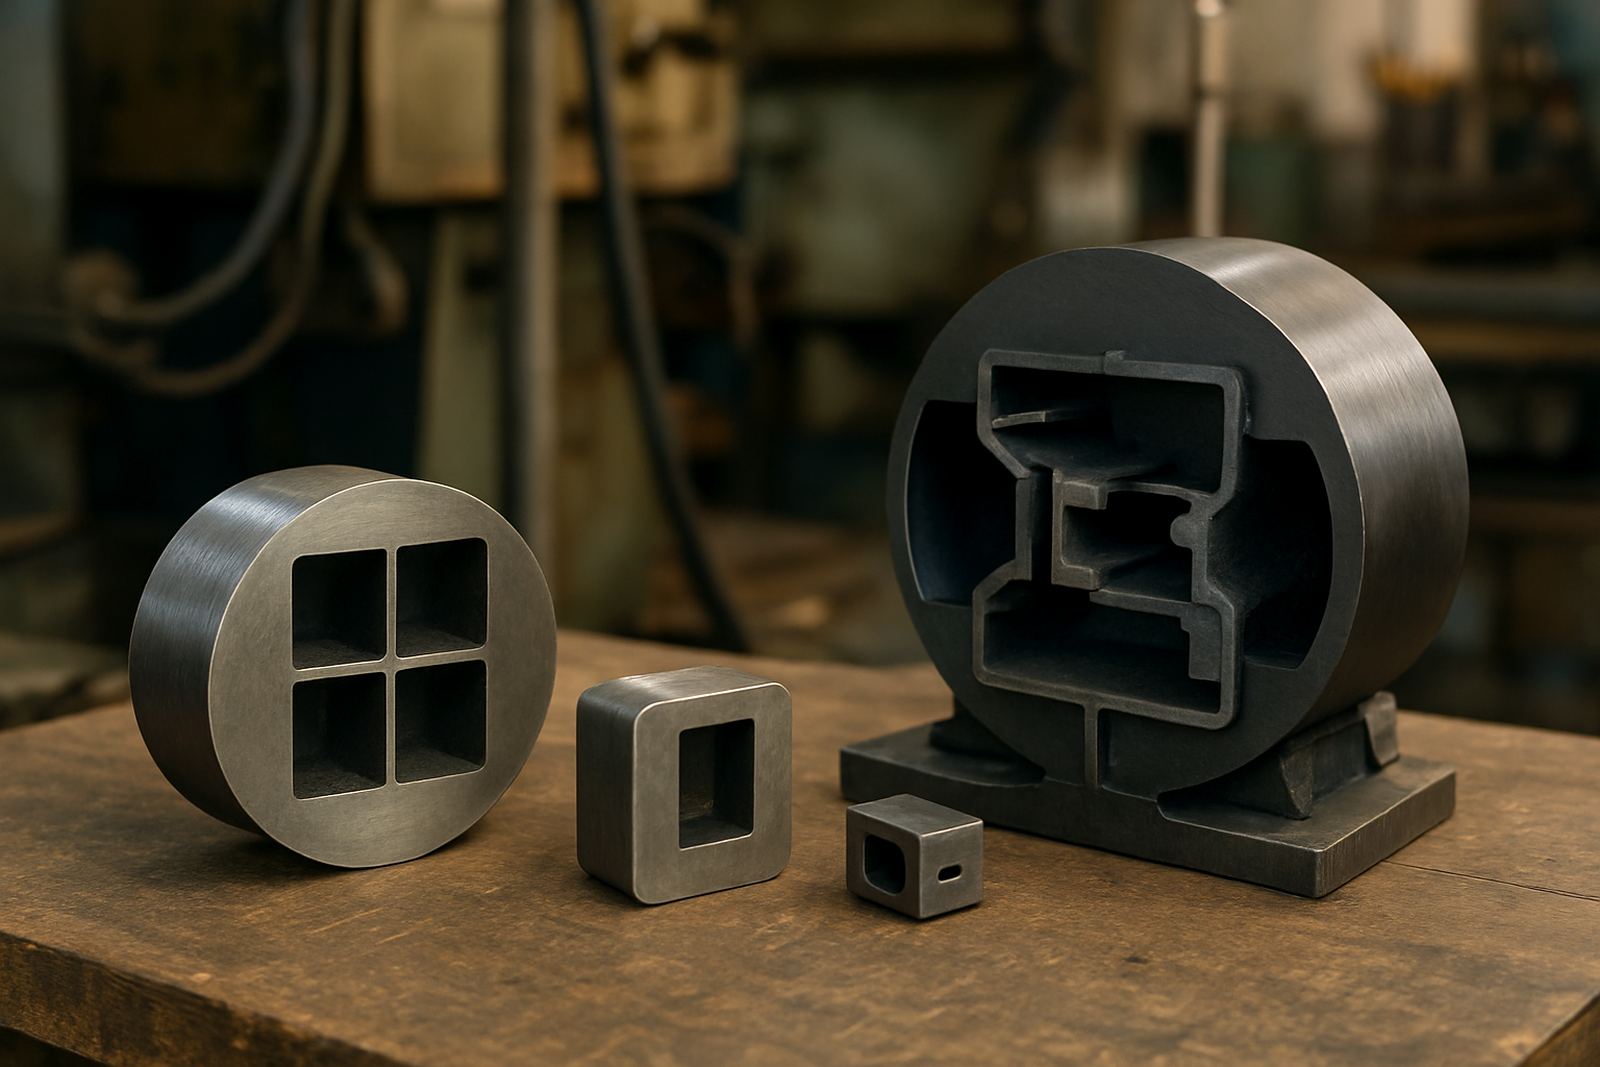
Start by checking that the tooling you received matches the job ticket, press width and material build-up. A rotary solid die, flexible magnetic die and magnetic cylinder all behave differently, so the mounting steps are not interchangeable. If the job is for a label printer in Germiston, Johannesburg or Pretoria, keep the substrate details close at hand so there is no mix-up at press side.
Check the die face, repeat length, bearer height and cutting profile before you unwrap anything further. If the job includes tight registration or a special liner stock, make sure the CAD proof and repeat details are signed off first. A quick check now can avoid a long stoppage later, especially when deliveries are moving between Wadeville, Durban and Cape Town.
- Match the die to the correct press width and repeat.
- Confirm the cutter type and the matching cylinder or magnetic base.
- Check for transit damage, rust marks or loose packaging.
- Keep the job card, proof and repeat details on hand.
2. Prepare the press bed and mounting surfaces properly
Before fitting the new tooling, clean the press bed, mounting rails and nearby contact points so no adhesive, dust or old adhesive tape interferes with seating. On older machines, fine paper dust and ink mist build up fast and can throw off alignment by a fraction, which is enough to cause uneven cutting. In humid coastal areas like Durban or Gqeberha, wipe down all exposed metal so moisture does not sit on the tooling overnight.
Use a lint-free cloth and a suitable cleaner for the machine surface. Do not rush this part. If the press is running after load-shedding, check that the machine is fully powered up and stable before you start the set-up sequence. A half-ready press can give false readings on pressure and registration, and that makes the trial harder than it should be.
- Lock out the press if your plant procedure requires it.
- Remove old tape, paper debris and dried ink.
- Check the mounting surface for nicks, burrs or build-up.
- Dry all contact surfaces completely before fitting the die.
3. Mount the die with careful alignment and light pressure
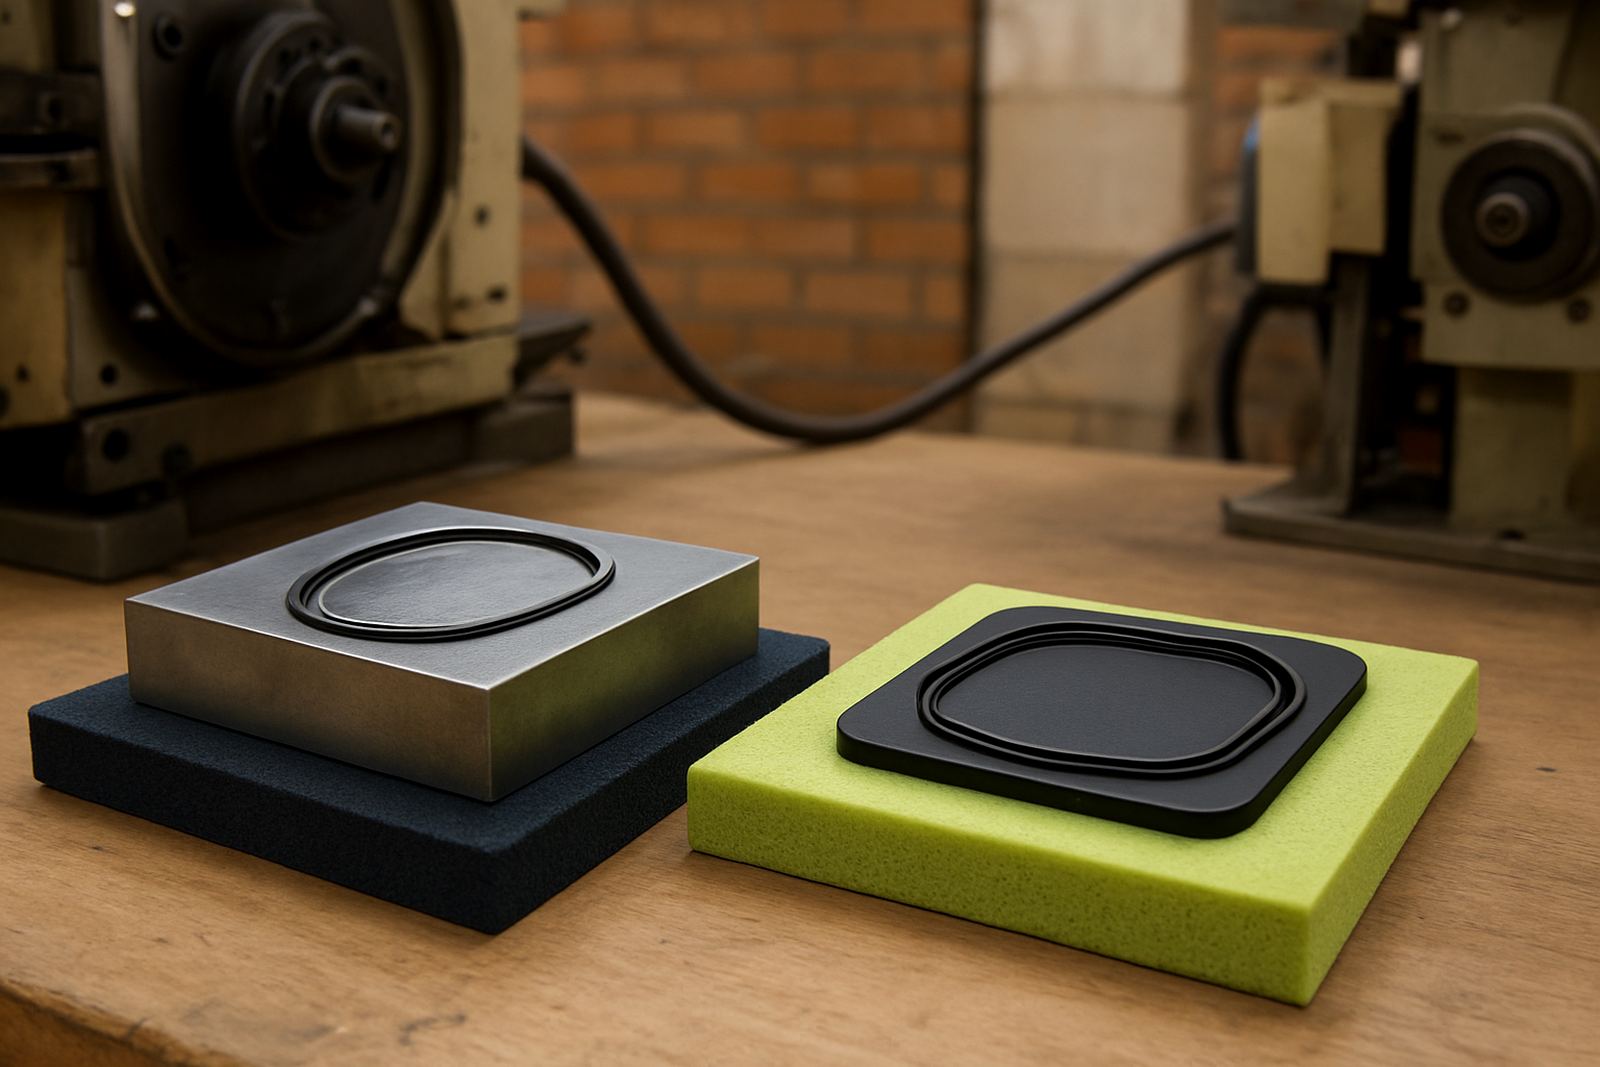
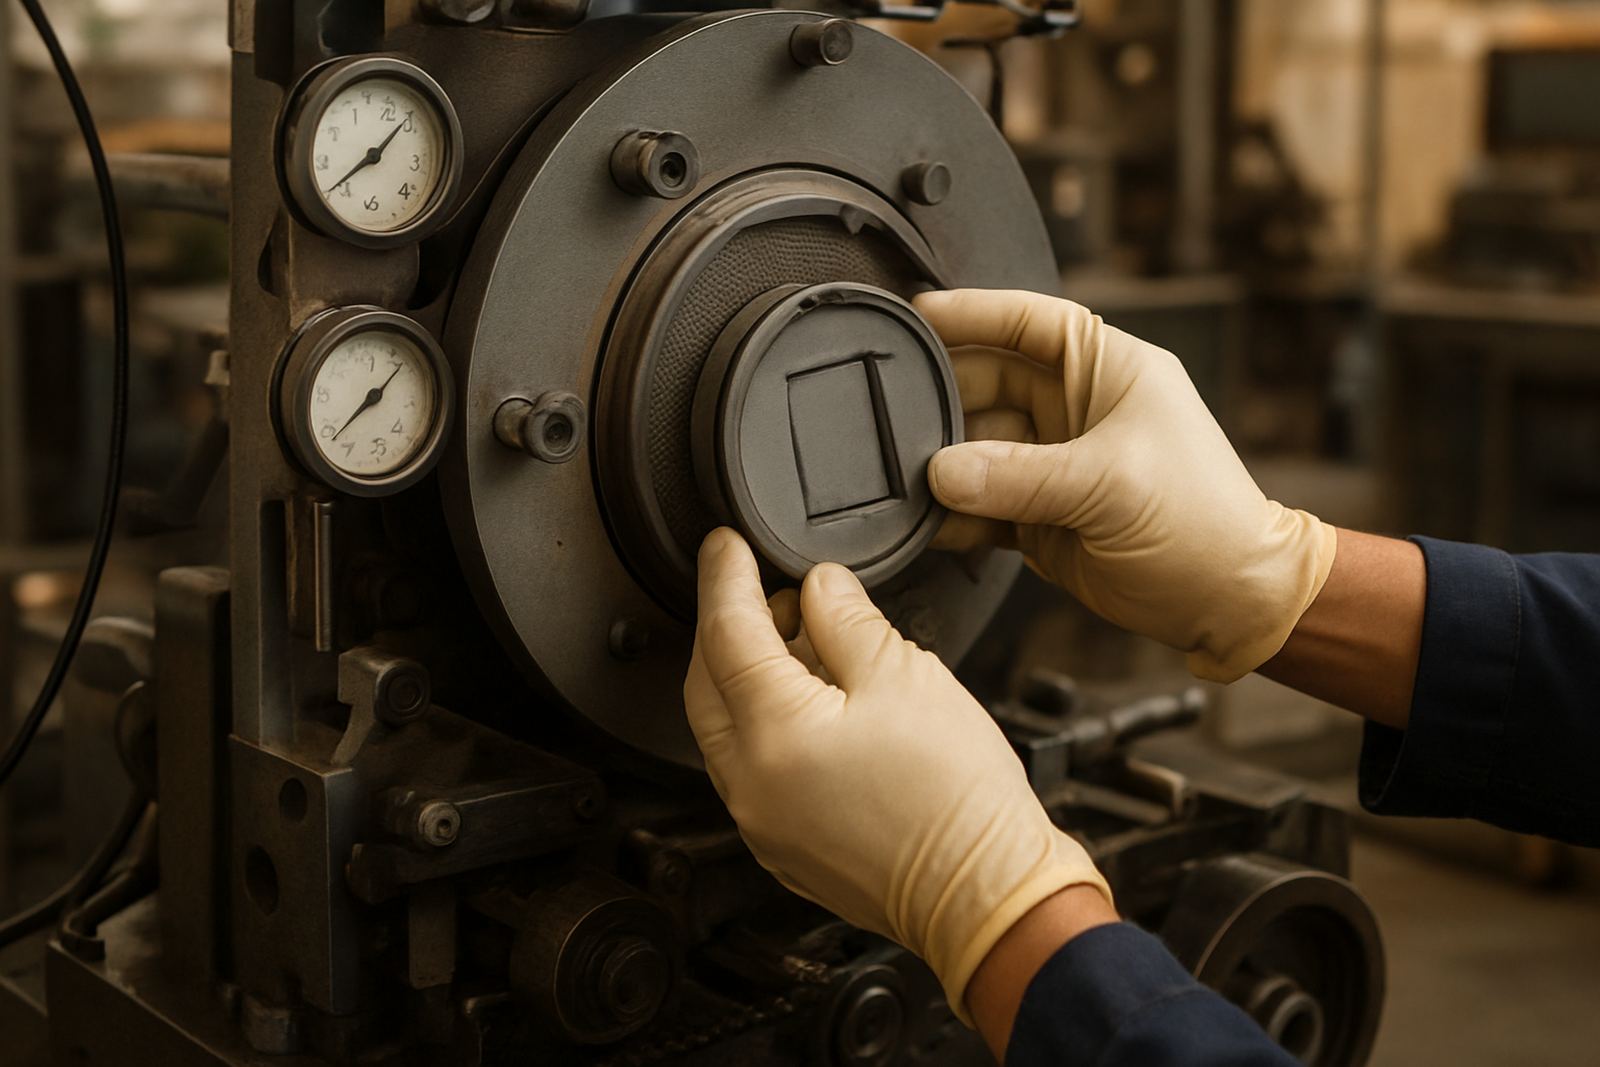
Fit the die or cylinder slowly and keep the positioning even from end to end. On a magnetic die, seat the tool cleanly against the cylinder and check that it pulls down flat with no rocking. For a solid rotary die, confirm that the clamping points are secure and the bearer contact is correct before moving the press by hand. A small twist at this stage can lead to die wear and poor cut consistency over the full run.
Set bearer pressure lightly at first, then close in step by step. If the machine has side lay or fine adjustment, use small movements only and note each change. Thandiwe and the production team often recommend a slow approach on first fit-ups, because once pressure is too high the cut edge can crush fibres or leave weak spots in the label face.
- Check that the die sits square across the full width.
- Confirm clamp security or magnetic seating before rotation.
- Start with light pressure, then increase gradually.
- Record the final setting for repeat jobs later.
4. Set bearer pressure and check the cut with a test sheet
Run a short trial first, not a full batch. Feed the chosen stock at normal speed if possible, then inspect the cut depth, kiss-cut quality and matrix removal. If the cut is too shallow, labels will tear during stripping. If it is too deep, you may cut into the liner and cause web breaks or misfeeds. The right setting should leave a clean edge with no heavy scoring on the backing.
Check both sides of the web and look for any pattern in the cut, because one side can be tighter than the other. When needed, adjust bearer pressure or alignment in very small steps. It is better to make three minor corrections than one big one that creates a new problem. Keep the first samples from each side of the press for comparison, as that often shows where the issue starts.
- Inspect for clean edges, even depth and easy matrix release.
- Look for crushed fibres, liner cuts or lifted corners.
- Test at least one short run at working speed.
- Keep sample pulls for approval and repeat reference.
5. Check registration, repeat matching and press fit on the live run
Once the cut is acceptable, bring the web up to normal production speed and check registration against the print marks or existing image position. If the job needs repeat matching on a previous die, compare the current cut to the earlier approved sample before committing to a longer run. Even a small change in stock thickness or stretch can shift the result, so do not assume the old setting will land exactly the same.
Watch the web path for flutter, snag points and edge wander. If the machine is running in warm weather, or after a power interruption, materials can behave differently and may need a finer tweak. Ruhan often advises converters to note the press speed, stock type and ambient conditions on the job card because that history helps on the next repeat. That saves a lot of time when the same order comes back six months later.
- Compare cut position to printed image or registration marks.
- Watch for web wander, lifting edges or inconsistent release.
- Log speed, stock and settings for repeat work.
- Confirm the final sample before releasing the full run.
6. 6. Stop the set-up and contact us before forcing the die
Stop the trial if you see repeated liner cuts, heavy burrs, uneven pressure across the web or strange noise from the tooling. Those signs usually mean the die, cylinder or machine setting needs closer inspection before any more stock is wasted. On some jobs a bearer adjustment is enough, but on others the cutter may need a regrind, cylinder refurb or magnet check before it can run properly.
If the job is urgent, keep the samples and note exactly what happened on the press. That makes it easier to advise on a remake, stock advice or a revised setup when the tooling comes back from Wadeville. For converters in Bellville, Pinetown and the wider Johannesburg area, accurate feedback is what helps us get you back on press quickly, with less trial and error.
- Stop if there is liner damage or repeated miscutting.
- Keep failed samples and note the press conditions.
- Request support for urgent remakes or repeat matching.
- Ask for dispatch coordination if the tool must be replaced fast.
7. Final sign-off before production starts
Before you release the job, do one last check on cut quality, sample count and tool condition. Make sure the operator knows the final pressure setting, repeat position and any special handling points for the rest of the run. If the order is going out to a client in Cape Town, Durban or Gqeberha, pack the approved samples with the job notes so the next shift has a clear reference.
A clean first set-up gives better output all day long and reduces waste on the back end. Keep the notes simple, keep the samples together and store the die correctly after use. That habit pays off on repeat work, especially when the next changeover comes in the middle of a busy shift and everyone needs to move quickly without losing accuracy.