What blade angle actually changes on press
Blade angle sets the way the cutting edge meets the material. A steeper angle enters the stock more gradually, while a lower angle bites sooner. That simple difference affects cut entry, fibre lift, liner splitting and the amount of pressure needed to get a clean cut.
On label work, the blade angle has to suit the full job spec, not only the face stock. Adhesive strength, liner type, coat weight and whether the reel is being run in hot Durban air or a cool dry Joburg plant all matter. If the angle is wrong, you may see fuzzed edges, partial cuts or a kiss cut that starts drifting as the run goes on.
Matching blade angle to the stock and adhesive
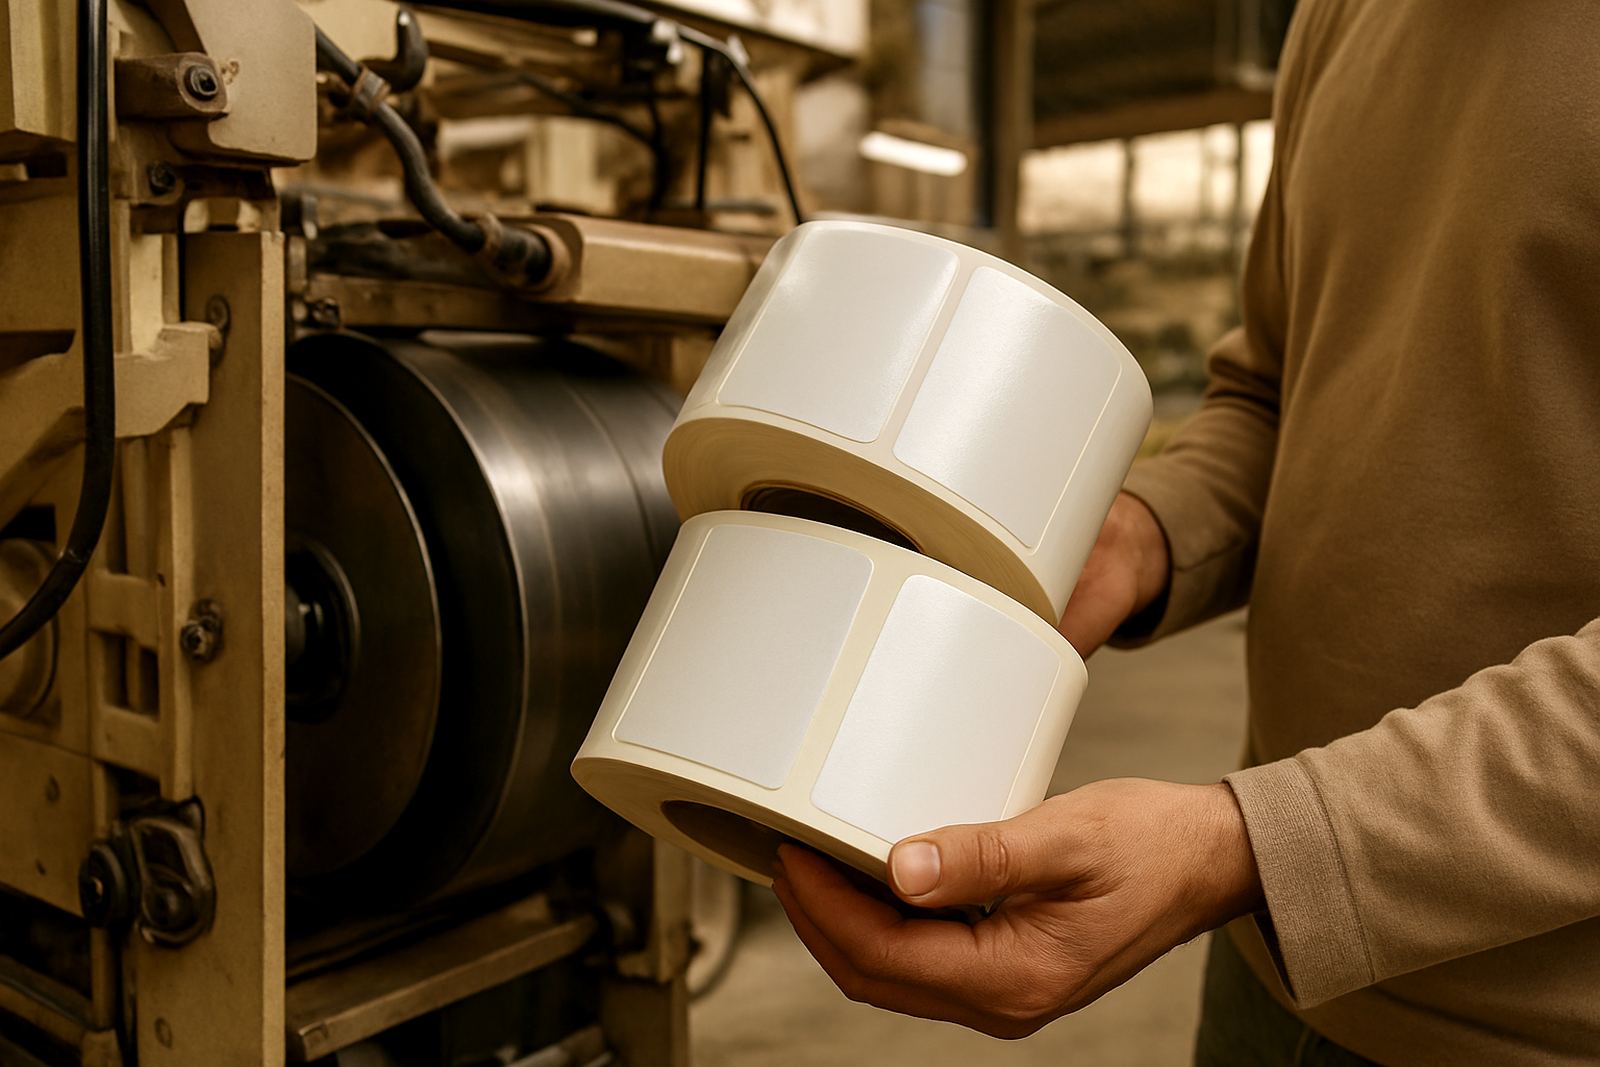
There is no single blade angle that suits every label job. A pressure sensitive self-adhesive label on coated paper behaves differently from a synthetic film or a textured stock. The adhesive matters too because some adhesives string or shear cleanly, while others resist the cut and pull at the edge.
For converters running short to medium label batches, repeatability is often more important than chasing the sharpest possible edge. A well chosen angle gives a cleaner first cut and keeps the die from needing excessive pressure. That means less stress on the press, and less chance of premature edge wear.
- Paper labels often need a different approach from film or synthetic stock.
- Heavier liners may require a stronger cutting action to maintain clean release.
- High tack adhesive usually needs tighter control of pressure and blade geometry.
How angle choice affects edge life and maintenance
Edge durability is where many teams notice the cost of a poor choice. If the angle is too aggressive for the material, the edge can wear faster and the cut starts to lose consistency before the run is finished. If it is too conservative, the press may need extra pressure and that can create heat, chatter and unnecessary strain.
In practical terms, the right angle helps you get more useful life from the die before regrind or replacement is needed. It also makes repeat orders easier because the original performance can be matched more closely. For plants balancing load-shedding backlogs and urgent customer work, that kind of predictability saves time and money.
Signs the blade angle is not right for the job
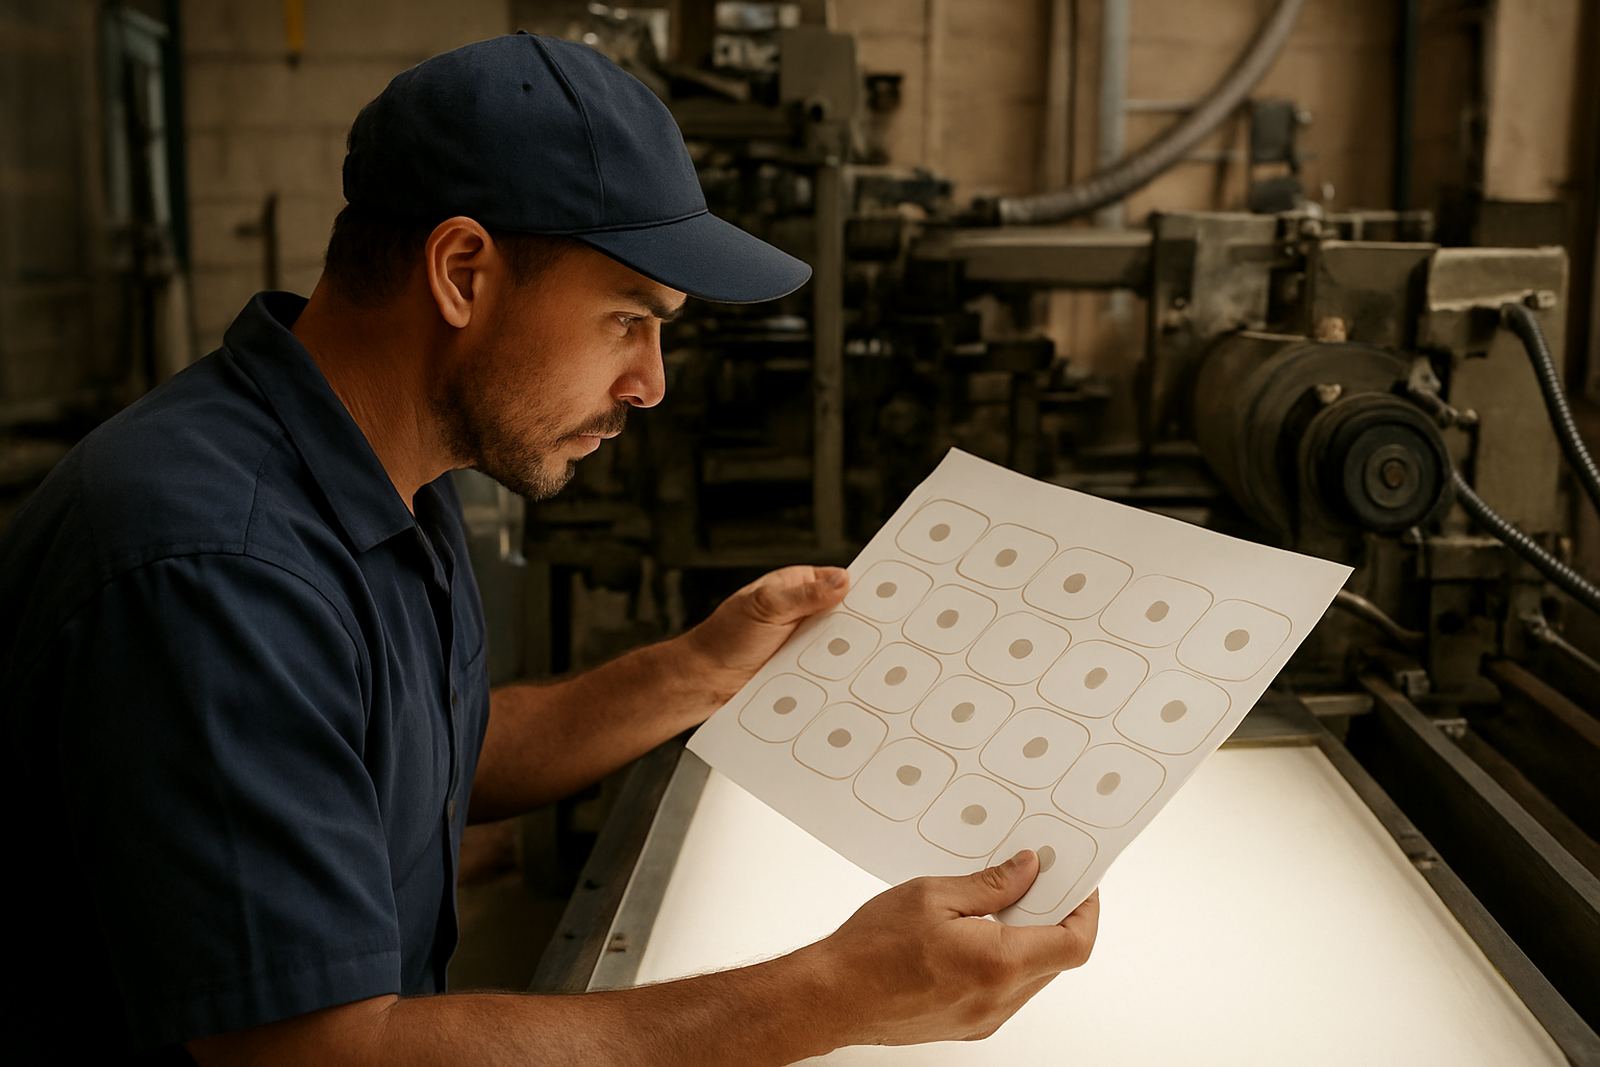
Operators usually see the warning signs before anyone else. A job that should run steadily starts needing repeated adjustment, the liner may tear unevenly, or the edge finish looks rough even though the press setting has not changed. On some materials you may also see adhesive build up on the edge or a slight lift at the corners.
When that happens, it is worth checking the complete setup rather than only the blanket or pressure setting. Material thickness, reel tension, magnetic seating and die condition all interact. A careful CAD proof and press trial can confirm whether the issue is angle related or whether another part of the spec needs attention.
Local example from a Germiston label run
A Wadeville converter running a high volume order for bottled goods sent through a mixed stock job, with paper front labels and a tougher liner than usual. The first run showed slight liner drag and the operators had to nudge the pressure higher than expected. After checking the die spec and the press setup, the blade angle was adjusted to suit the stock build more closely.
The result was a cleaner entry, less heat on the run and more stable output over the full reel. That kind of change may sound small, but in practice it can reduce stoppages and keep the job on schedule, especially when deliveries need to move between Germiston, Johannesburg and Pretoria the same day.
A practical rule for better label cutting
The best blade angle is the one that matches the material, the press and the expected run length. It should cut cleanly, hold its edge and keep the web stable without forcing the machine to work harder than it should. For South African label printers and converters, that means thinking beyond sharpness and looking at the full production picture.
When in doubt, start with the stock, then check the pressure, the die condition and the actual performance on press. That approach saves scrap, protects edge life and gives you a much steadier result.