Start With the Sheet, Web and Press Size
Before any cavity is drawn, measure the true usable area on the web or sheet, not just the nominal label size. Leave room for side margins, sensor marks, bleed if needed, and the mechanical limits of the press. On a narrow web job, even 1 to 2 mm can decide whether the layout runs cleanly or starts drifting under tension.
For South African label plants, it also helps to consider the actual work mix on the floor. A printer in Wadeville may be running short repeat pharmaceutical labels in the morning and a longer food pack job after lunch. If the cavity grid is too tight, the press crew will spend time fighting register and matrix breaks instead of printing.
- Confirm usable web width after edge trim
- Allow enough side grip for web control and die strength
- Keep repeat length practical for the press and rewind setup
- Check if the layout must suit one job or a family of repeat orders
Build Strength Into the Layout, Not Just the Blade
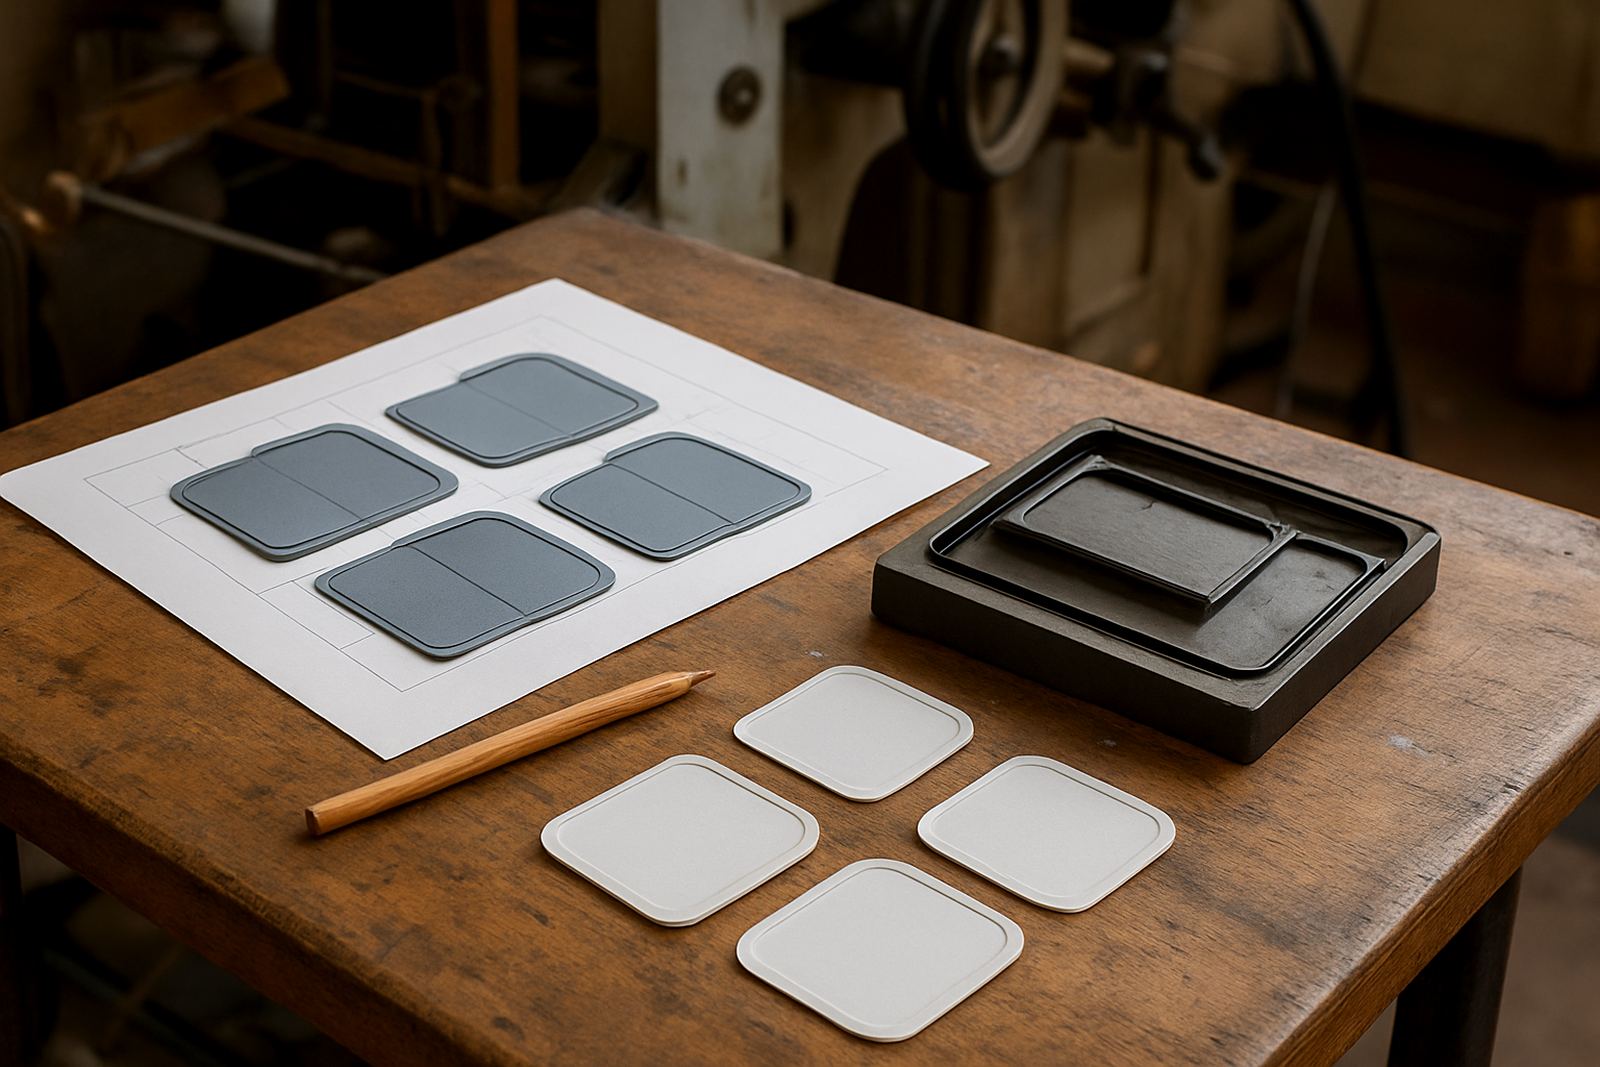
A die with many small cavities can look efficient on paper, but if the bridges between cavities are too thin the tool can lose stability. That leads to uneven cutting depth, faster wear, and more frequent regrinds. Strong layout means the cavities support each other, especially on long runs and thicker label stock.
We often see better performance when designers keep larger solid areas near the edges and avoid placing delicate cut shapes too close to one another. That extra material may seem wasteful at first, but it usually pays back through cleaner cutting and longer tool life. In humid coastal conditions, especially around Durban or Gqeberha, a more stable layout also helps when stock conditions change through the day.
- Keep bridges wide enough for the die body to stay stable
- Avoid crowding fine detail close to the edge of the cavity
- Leave solid support where the press pressure is highest
- Check whether the layout will still hold after several regrinds
Make Matrix Removal Easy for the Press Crew
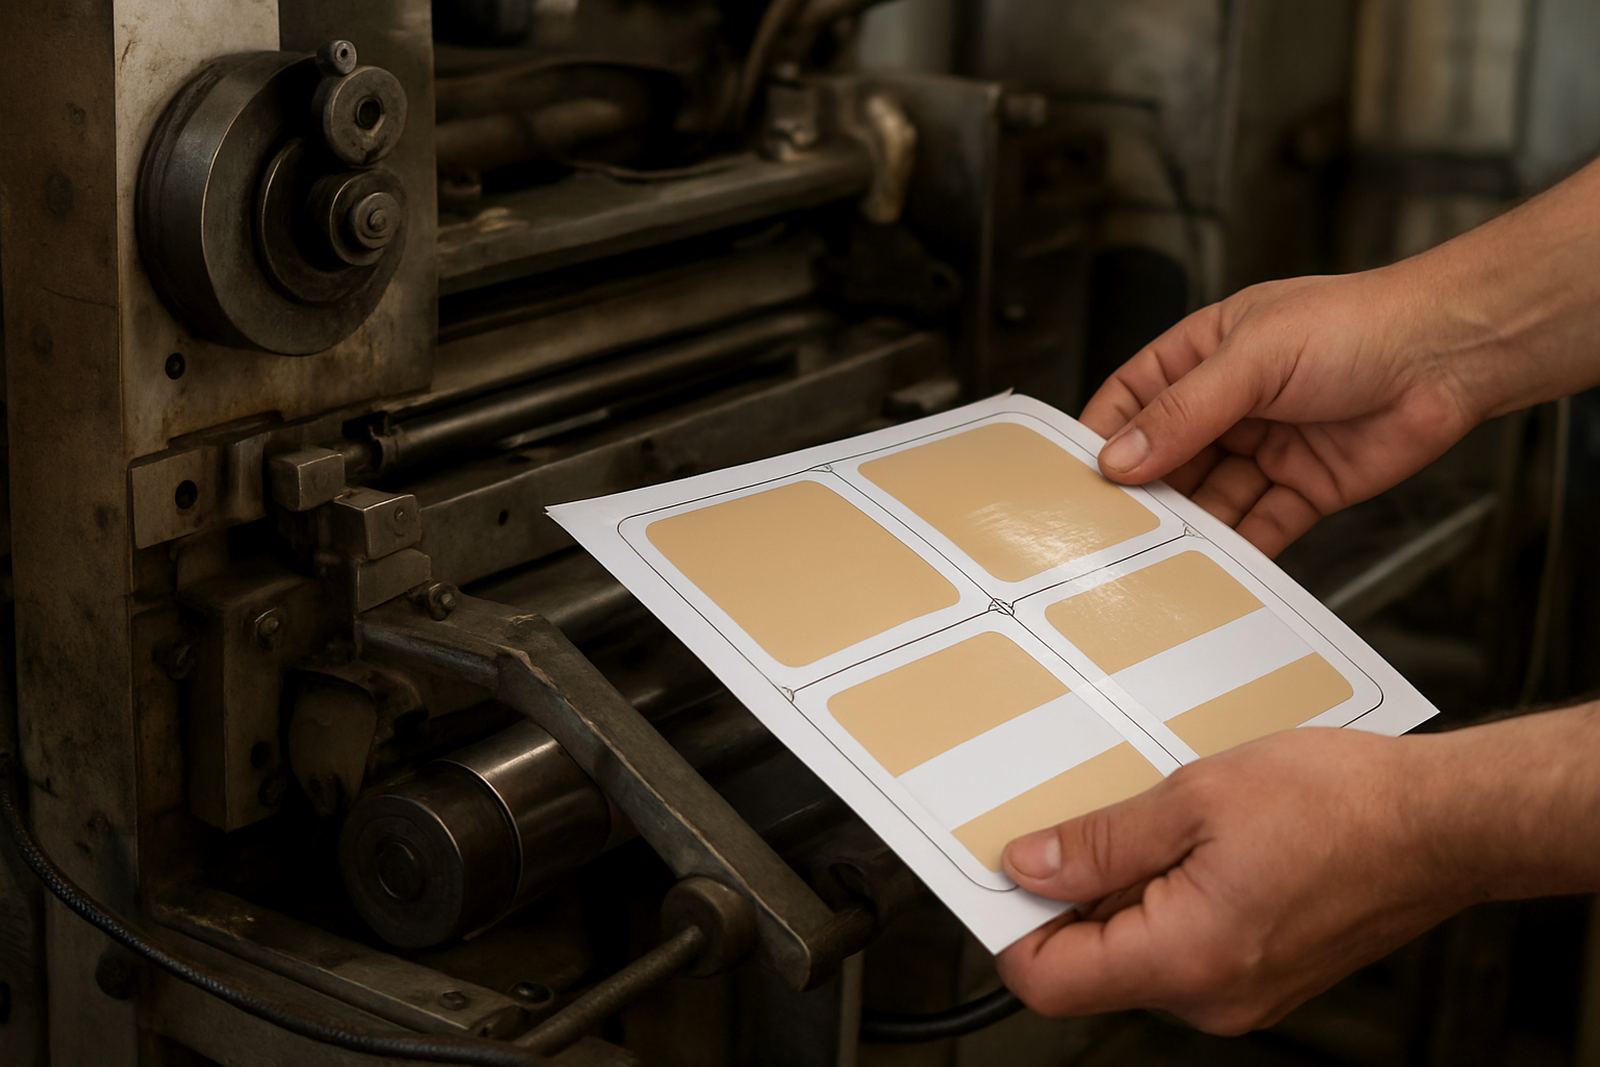
Matrix removal is one of the quickest ways to lose time on the floor. If the cavities are arranged without a clear exit path for waste, the liner can snag, lift or tear in the wrong place. Good layout gives the matrix somewhere to travel, and that means fewer stops and less hand stripping.
For labels with complex shapes, think about the waste path before you finalise the artwork. Rounded cavity corners can help the matrix release more cleanly, while sharp dead ends can trap adhesive. A printer doing urgent work in Pretoria at the end of a shift will appreciate a layout that strips cleanly under pressure, especially when load-shedding has already shortened the production window.
- Avoid isolated pockets that trap waste
- Use cavity shapes that guide the matrix in one direction
- Keep adhesive heavy areas from building up in narrow waste channels
- Test the strip path on press, not only on paper drawings
Leave Room for Bearer Setting and Press Tolerance
Even the best cavity pattern will struggle if bearer setup and press tolerance are ignored. The layout must suit the way the die is mounted and how the press carries pressure across the cylinder or plate. Uneven layout can create soft spots, and those show up as poor cut consistency or label edge lift.
When we check repeat work, one of the first questions is whether the layout matched the previous tool exactly or whether the press setup changed. A few tenths of a millimetre may not sound like much, but in label converting it can affect strip quality, cut depth and registration. That is why repeat matching should always start with the original working spec, not just a visual copy.
- Match the cavity layout to the press mounting method
- Check bearer height and pressure balance before sign off
- Keep repeated jobs consistent so the press crew can reuse settings
- Allow for normal wear if the job will be rerun often
Plan for Substrates, Adhesives and Climate
Paper, film and specialist stocks do not all behave the same way in the die. A layout that works on a stable paper label may need adjustment for a softer film with a more aggressive adhesive. In hot conditions or coastal humidity, the material can move slightly, and that movement affects cavity placement and strip behaviour.
That is one reason we advise clients to think beyond artwork dimensions. A job for a chilled food label in Cape Town may need different spacing from a dry goods label in inland Gauteng. If the adhesive is strong and the liner is thin, the cavities need enough support to keep the matrix from pulling too hard at the corners.
- Check stock thickness before confirming cavity spacing
- Match the layout to the adhesive strength and liner type
- Consider temperature changes during transport and storage
- Allow for moisture movement on paper labels in humid areas
Use CAD Proofing and a Press Trial Before You Commit
A good layout should be checked twice before the die is made. CAD proofing helps catch crowded cavities, weak bridges and awkward waste paths early. A press trial then confirms whether the tool actually runs the way it was planned. Both steps save money by reducing remake risk and stopping avoidable delays.
For converters handling urgent remakes, this step is especially useful. If a job has to go back to press quickly, the layout needs to be practical, not only neat on screen. Our production team also looks at stock advice, dispatch timing and delivery coordination so the completed tool reaches the right plant in working order and on time.
- Review artwork with the cutter, not only the designer
- Ask for proofing before the die is released to production
- Use trial feedback to adjust cavity spacing on the next run
- Keep notes for future repeat orders and press settings
A Germiston Example: Better Yield on a Multi-Label Order
One local converter in the East Rand had a mixed order for five small labels on a narrow web. The first layout looked efficient, but the matrix kept snagging between the cavities and the press crew had to slow down. After the spacing was adjusted and the waste channels were cleaned up, the run became steadier and the scrap rate dropped. The final result used the same stock, but the better layout gave more usable labels per metre and less handling on press.
That is the point of cavity planning. It is not only about fitting more labels into a space. It is about making the die stronger, the strip cleaner and the run easier to manage from first pull to final rewind. For teams working against deadlines in Johannesburg, Pretoria, Durban, Cape Town or Gqeberha, that difference matters every day.