Why cut depth matters in everyday converting
Cut depth decides how far the knife enters the face material before it stops. That sounds simple, but it affects almost every part of the job: how cleanly the label releases, whether the liner stays intact, and how much effort is needed to strip waste after cutting.
For South African printers running mixed work, from short label runs in Germiston to repeat orders in Cape Town, the right cut depth helps keep production steady. A die that cuts too deep can score the liner and cause breakage on the rewinder. A die that cuts too shallow may leave weak edge cuts or incomplete waste release, which slows down stripping and makes press operators fight the job all shift.
Most label stocks are built differently, so there is no single setting that suits every job. Paper, polypropylene, vinyl, polyester and textured materials all respond differently. Even the same material can vary between suppliers, which is why careful checking is part of good die work not a bonus.
What happens when the cut goes too deep
If the cut depth is excessive, the knife can mark or cut into the liner. That may not show up immediately on press, but it can create real problems later in finishing and application.
Typical signs of overcutting include:
- liner breaks on the rewind
- labels lifting with rough edges
- poor web tracking through the machine
- harder stripping because the waste has no clean bridge points
- premature wear on the die from unnecessary contact
On solid rotary dies, too much depth can also increase the risk of repeat issues where the cut starts to vary around the cylinder. On flexible magnetic dies, overcutting can cause local pressure points, especially if bearer setting or machine pressure is not balanced. That is why the cut depth must be checked together with machine setup, not on its own.
When the cut is too light
Shallow cutting causes a different set of headaches. The label may still look acceptable on the sheet or web, but waste stripping becomes slow and messy. In some cases the face material does not release fully from the waste matrix, so operators end up picking out corners by hand.
This often shows up on jobs with small labels, tight radii or intricate shapes. If the cut does not reach the point where the face stock is fully separated, the waste can hold on at weak spots and tear unevenly. That leads to downtime, more rework and complaints from the customer when labels do not dispense cleanly.
Useful warning signs include:
- waste pulling small labels away with it
- rounded corners staying attached
- bridges failing before the intended tear point
- pressure being increased on press, which then creates the opposite problem
The best response is not always more pressure. Sometimes the answer is a better cut profile, a regrind or a fresh magnetic cylinder that is set up correctly for the stock thickness.
Matching cut depth to stock and machine
Good cut depth starts with the material spec, but it does not end there. The face thickness, adhesive type, liner weight and press condition all matter. A 60 micron film on a smooth liner will behave differently from a textured paper label with a heavier adhesive layer.
Operators should think about these points before approving a die setting:
- face stock thickness and stiffness
- liner strength and release coating
- label size and amount of waste between labels
- press speed and whether the job runs during load shedding recovery
- temperature and humidity in the plant, especially on the coast
In Durban or Gqeberha, moisture in the air can affect release and waste stripping more than people expect. In winter, or after a power interruption, some materials behave differently once the press restarts. A job that ran well yesterday may need a small correction today, so it helps to keep records of what worked, including pressure settings and cut notes.
A practical example from a Germiston converter
A label converter in Wadeville once had a repeated issue on a small bottle label for a local food customer. The artwork was fine, but the waste would not strip cleanly at speed and the liner showed light scoring after a long run. The team first thought the stock was at fault, but the real issue was a cut that was set just a touch too deep for that liner grade.
After checking the sample, the die was adjusted and the bearer setting reviewed. The next press trial gave cleaner release, better matrix removal and less operator intervention. The customer did not need a new artwork change or a different substrate. They just needed a more accurate cut depth matched to the job.
That sort of fix saves time on repeat work. It also helps when the same label must be produced again months later, because the original notes can be matched rather than guessed at. For converters handling tight production schedules in Johannesburg, Pretoria or Cape Town, repeat accuracy is worth more than trying to force one setting across every run.
How to check cut depth before a full run
The best time to catch a depth problem is before a long production run starts. A short test strip can tell you a great deal about how the die is behaving on the actual stock.
Before release, check the following:
- whether the label separates cleanly without lifting the liner
- if the waste comes away in one piece or tears in patches
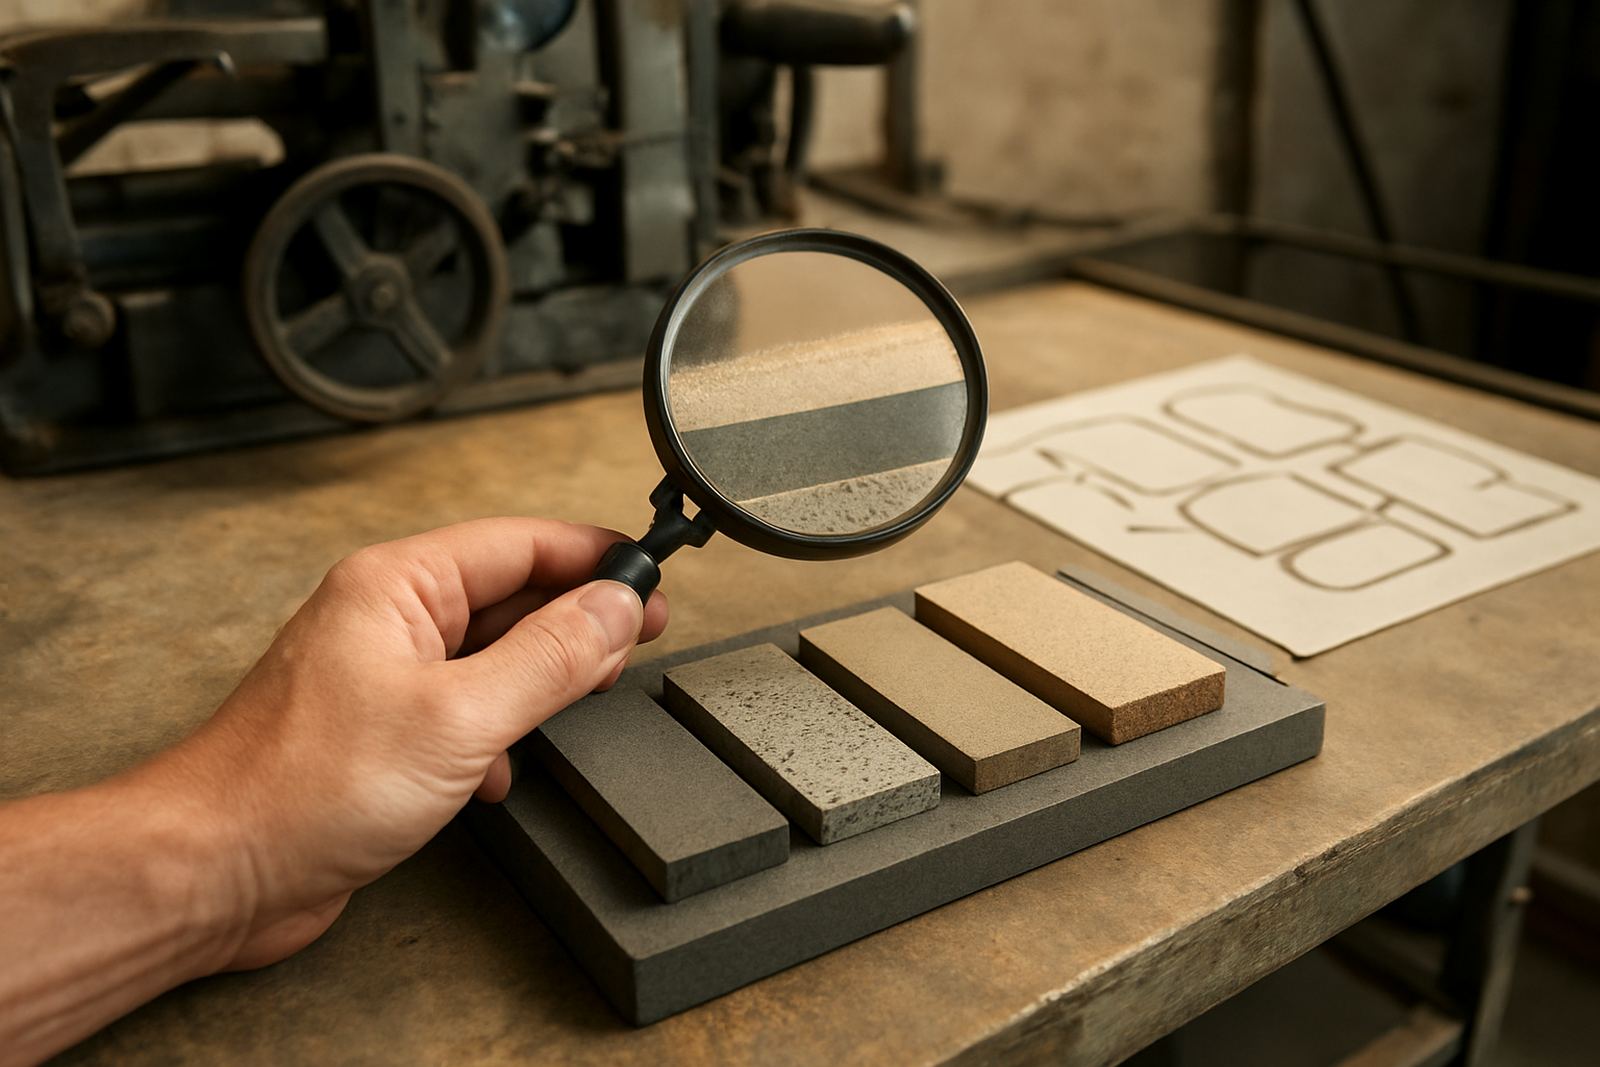
- whether the cut edge is crisp under light magnification
- if the liner shows scoring, crushing or pinching
- how the job behaves after a brief machine stop and restart
If the first sample is not right, do not simply push harder. Review the cut, the pressure and the die condition together. A die that has gone dull may need die regrind or bearer adjustment, while a fresh order may only need a small CAD correction. Good proofing saves stock and avoids wasteful retries.
Keeping die settings consistent over repeat orders
Repeat matching is easiest when the original cut depth, stock details and press notes are stored properly. Small changes in paper supply or liner coating can affect the result, so the team should keep records that are practical and easy to use on the shop floor.
For repeat jobs, it helps to confirm:
- material grade and supplier batch
- die type, size and any previous regrind history
- press used and approximate run speed
- pressure and bearer notes
- any release or stripping issues seen on the last run
When those details are kept in order, the next run is more predictable. That matters for printers and converters serving Johannesburg, Durban, Cape Town, Gqeberha and Pretoria where turnaround times are often tight and clients expect clean work the first time. Careful cut depth is not dramatic, but it is one of the main reasons a label line keeps moving.