
Why foil windows punish small cutting errors
Cold foil windows combine two things that do not forgive slack work: a decorative foil area and a cut line that often runs very close to text, borders or clear sections. If the die is even slightly out on tolerance, the window can bite into the foil, leave a rough edge, or pull on the adhesive at the wrong point. That matters more on short-run labels where a small spoilage rate becomes an expensive one.
In practice, the cut must respect the design intent and the converting method. A window that looks generous on screen can become tight once the substrate stretches, the foil transfers and the press speed rises. Our team sees this most often on labels with narrow clear breaks, sharp internal corners, and fine reverse type around the window edge. Those areas need a die that is accurate from the first strike and stays true across the run.
Set your window geometry before the die is made
The best results start with the artwork and the tool drawing being checked together. A foil window should not be treated as a separate finish step. It has to sit within the repeat, the bearer setting and the press direction so the cut path lands where the printer expects it to land. If the window is too close to a flex line or a crisp detail, you will fight peeling or poor release later.
Before releasing the job, check these points:
- Window size against the final label trim and any bleed allowance
- Distance between the cut line and fine text, borders or varnish edges
- Whether the substrate is paper, film or a coated material with more slip
- The repeat length and whether the die must match an existing magnetic cylinder or solid rotary tool
That first check saves time at press side. It also helps with repeat matching if the same customer comes back for a reprint months later and wants the foil windows to land in exactly the same place.
Fine detail needs a calm, clean cut path
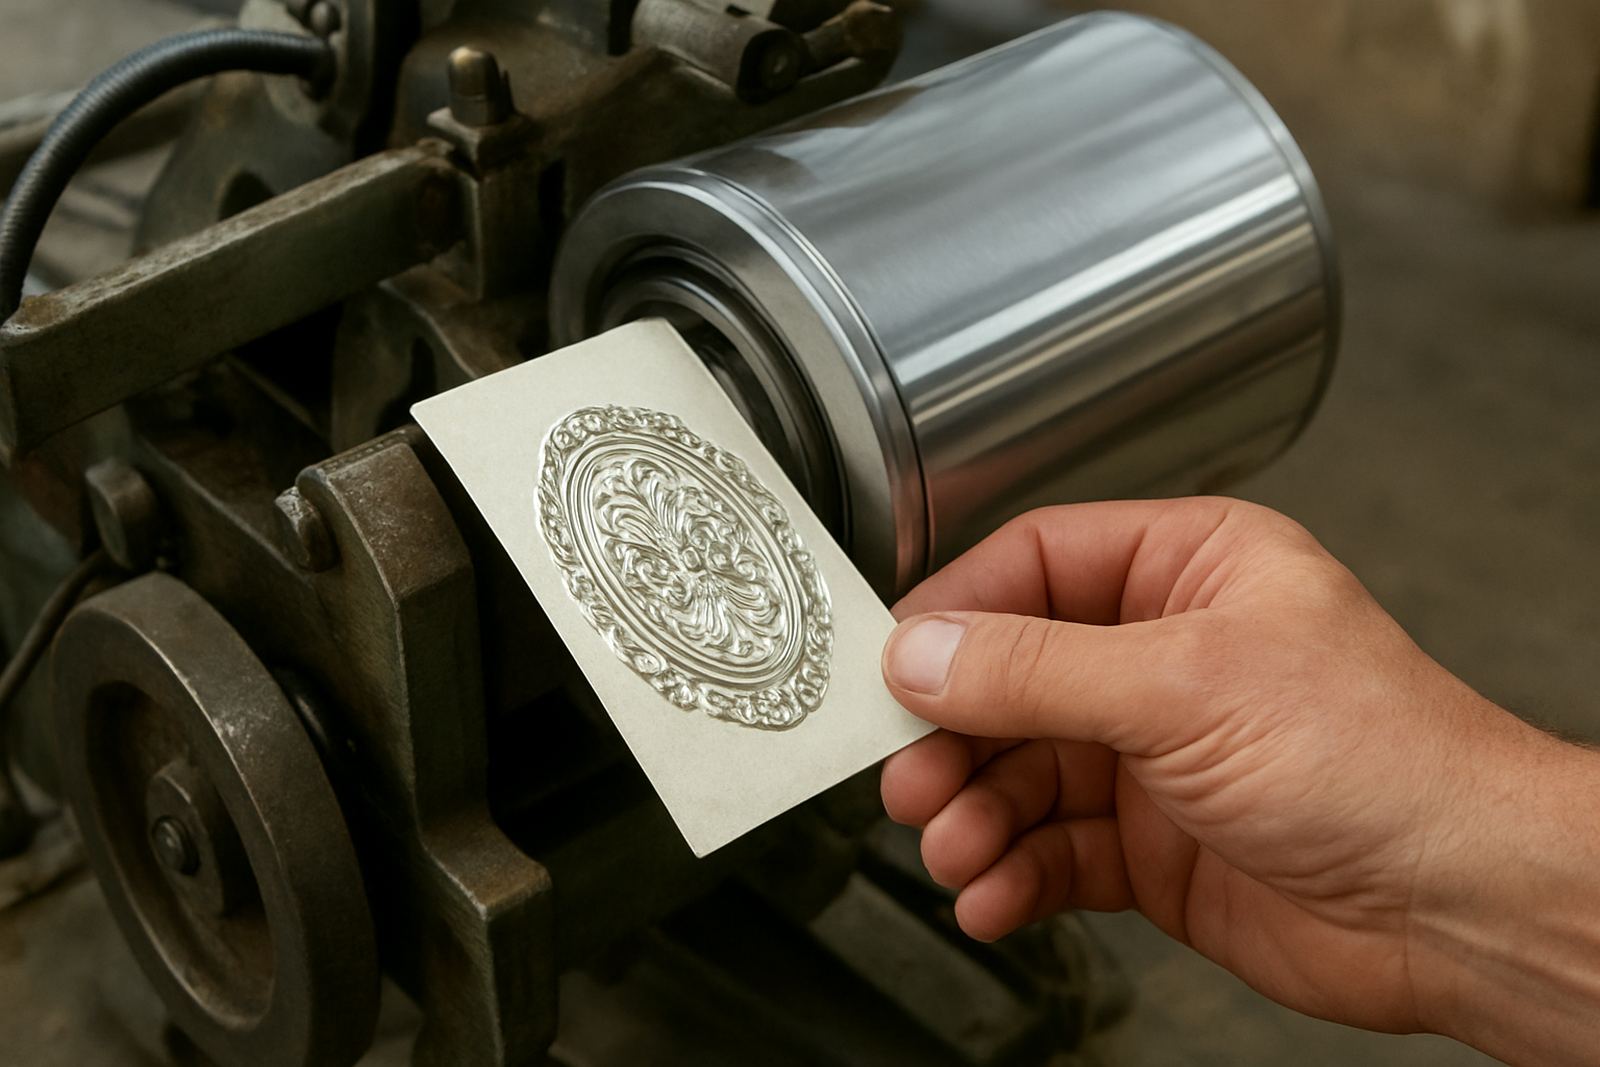
When the artwork carries small lettering or detailed line work next to the foil window, the cut path has to be planned to avoid stress points. Sharp internal corners can tear, while over-tight curves can leave a slight crush on the edge. A good cutting edge should separate cleanly without pushing the label stock out of register. If the tool is dull or the bearer setting is off, the window edge can start to feather and the foil may lift at the corners.
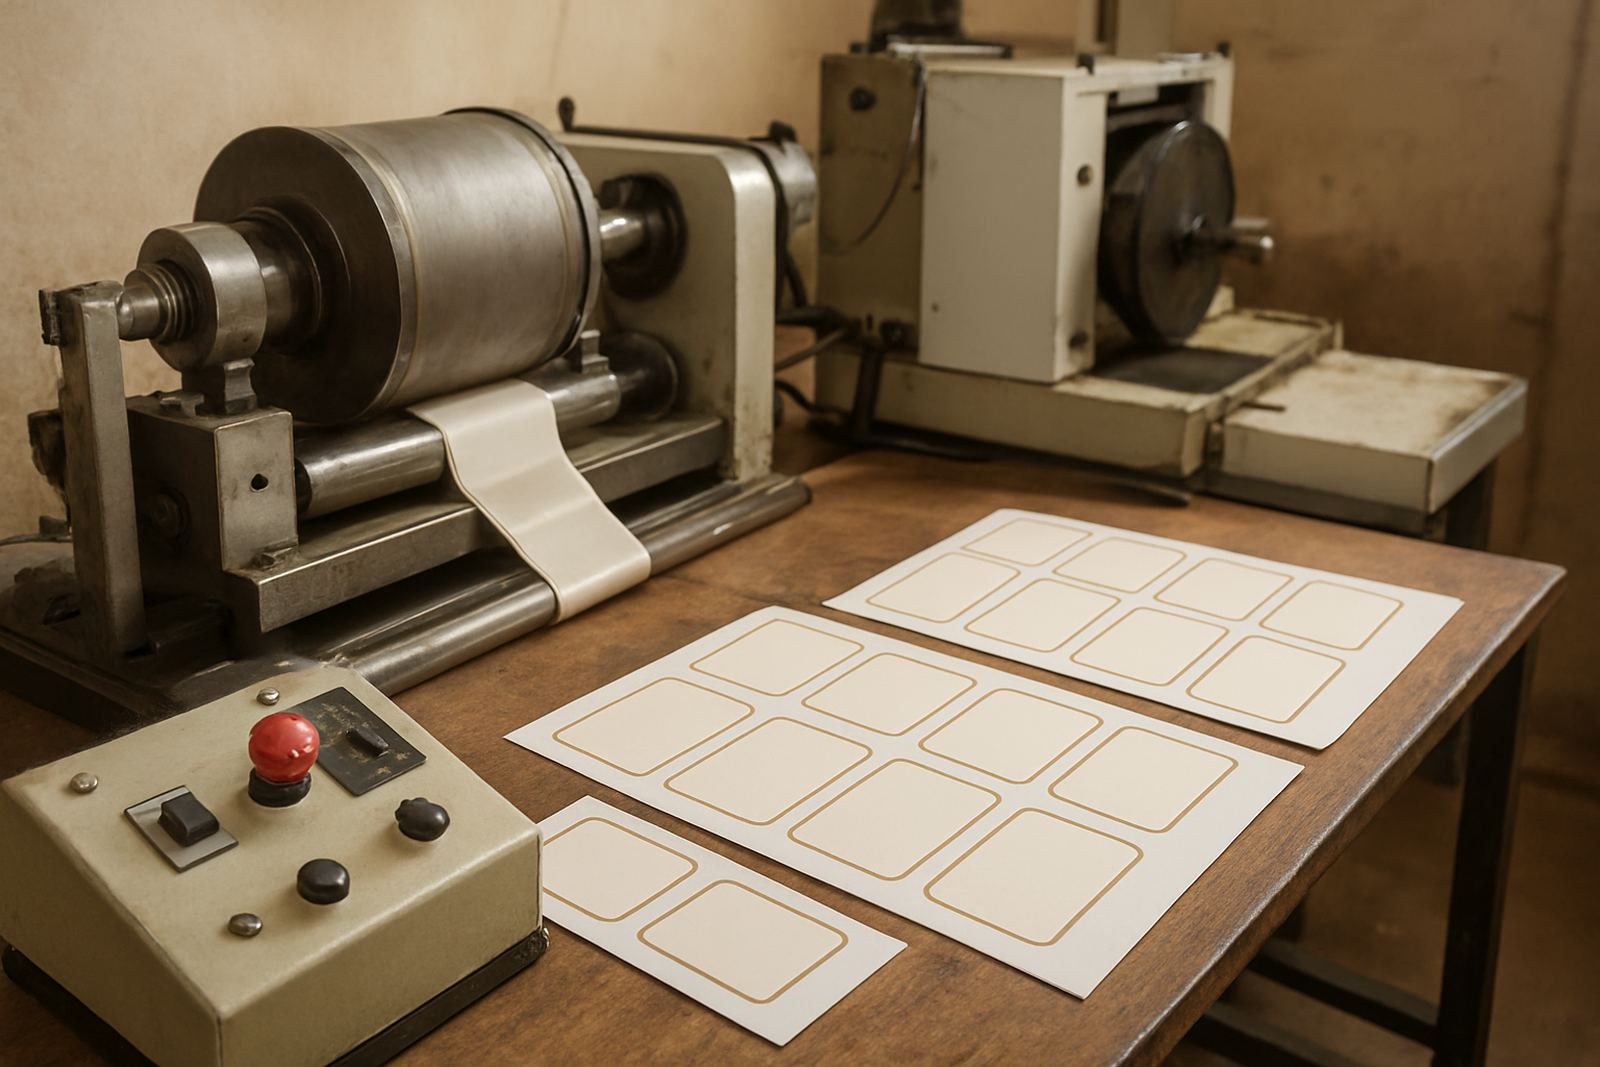
This is where careful die design, CAD proofing and bearer setting earn their keep. For high-detail work we look at the relationship between the cut face and the surrounding print marks, then check whether the job needs a solid rotary die or a flexible magnetic die. For some runs a magnetic cylinder arrangement gives the right balance of speed and practical changeover, especially when a converter is moving between several label versions in one shift.
On press, pay attention to the first few hundred metres. That is often where a small setup issue shows itself before it becomes a full roll problem.
What changes on the South African shop floor
South African converters deal with a few local realities that can affect foil window work. Load shedding can interrupt a run and leave a partly converted roll needing careful restart. Coastal humidity in places like Durban, Pinetown and Bellville can also change how certain label stocks behave, especially if the material has been stored open for too long. In Gauteng, dusty conditions and temperature shifts between morning and afternoon can affect handling and static.
Because of that, it helps to keep the conversion process practical and measured:
- Store materials flat and wrapped until they are needed
- Allow stock to acclimatise before a long run
- Check that the die edge is clean after any stoppage
- Inspect the first sample after restart, not just the first full roll
For a Germiston converter sending labels to a Johannesburg customer on a tight turnaround, those checks can make the difference between finishing in one shift or remaking a roll after the fact. A short delay at setup is still cheaper than a failed run.
Matching the die to the machine and the repeat
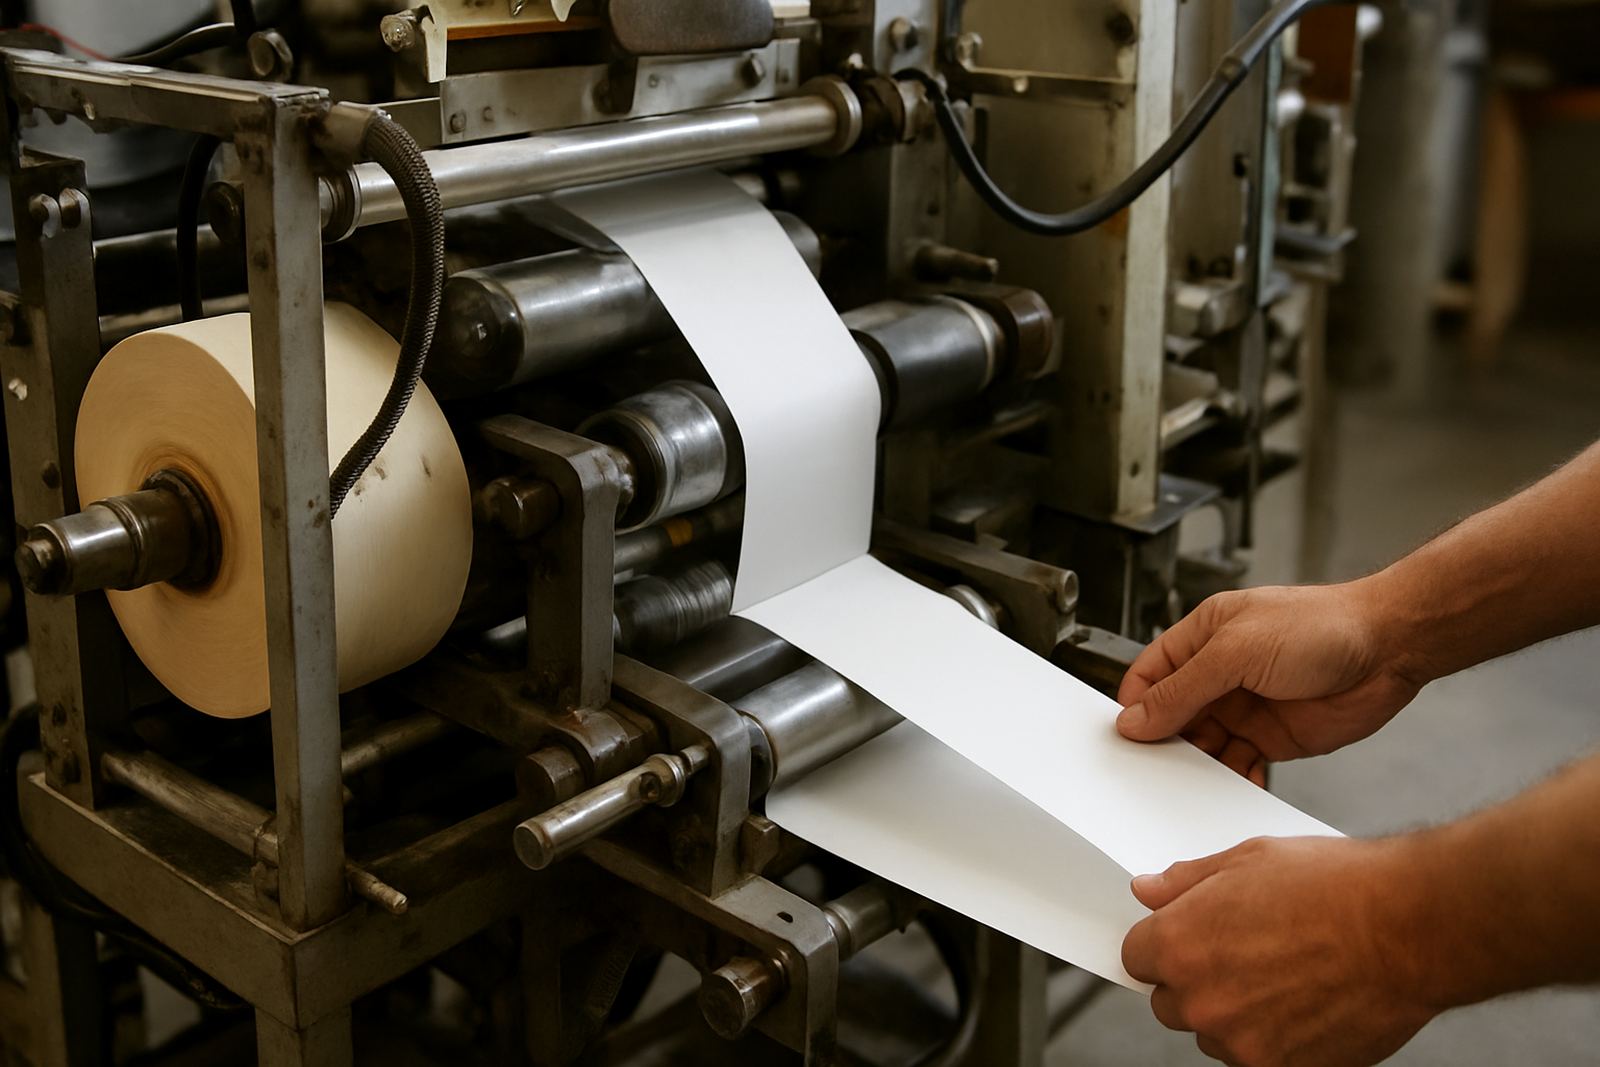
Cold foil windows are less forgiving when the tool and machine are not properly matched. Rotary solid dies, flexible magnetic dies and magnetic cylinders each have a place, but the choice must follow the job size, repeat length and press setup. A tool that works well on one converting line may not suit another if the bearer pressure, unwind tension or cutting speed is different.
We normally look at three things before confirming the tool path:
- The press type and the material path through the machine
- Whether the same job is being repeated on an existing cylinder or needs a new die
- The tolerance required around the window, especially where the foil sits close to the trim
If a customer is planning future repeats, it is worth keeping the original proof, repeat notes and tool settings together. That makes repeat matching much easier and helps avoid small shifts that can show up as a visible offset around the foil window.
A local example from a run in Wadeville
A converter in the East Rand recently brought through a label with a narrow cold foil frame and a small clear window inside it. The job was headed for a premium food pack, and the window sat very close to fine type on two sides. The first concern was not the foil itself but the die clearance around the inner shape. If the cut wandered, the foil edge would look rough and the clear window would draw the eye for the wrong reason.
After checking the artwork and confirming the repeat, the tool was set up with a tighter focus on the inner line and a clean bearer setting. The first samples showed a neat window edge with no breakout at the corners, and the press team could keep running without chasing little faults every few hundred metres. That kind of result is usually about disciplined setup, not luck. A neat cut, once made right, saves a lot of hand sorting later.
What to ask for before approving the order
When you are approving a cold foil window job, it helps to ask practical questions before the die is made. That way you know the tool is suited to the label stock, the finish and the run length. It is also the best time to catch any mismatch between design intent and what can actually be held on press.
- Can the window hold its shape at production speed
- Is the cut line far enough from the foil edge to prevent lifting
- Will the same tool support future repeat orders
- Do we need press trial support for the first run
For label printers and converters across Johannesburg, Pretoria, Durban, Cape Town and Gqeberha, that is the difference between a label that looks sharp on the pack and one that becomes a complaint at dispatch. Cold foil windows reward planning, a clean die and steady handling from the first sample to the last roll.