
Start With a Clean Die and a Proper Job Reference
Before you measure anything, clean the die so you can see the true cutting edge, bearer surfaces and any marks that show wear. Ink build-up, adhesive residue and paper dust can hide damage, and that leads to a repeat order that is slightly off. If the die is still mounted, remove it safely and handle it with gloves. Old glue, tape and rust on the back can also affect how the die sits in the cylinder.
It helps to match the die to the correct job as well. Gather the previous carton, label or sleeve sample, the board or substrate spec, the repeat length, and any notes from the press room. If the job has changed over time, write that down before you start. A lot of repeat issues come from someone measuring the tool, then forgetting that the artwork or label size was altered months later.
- Clean off adhesive, paper fibres and oil before measuring.
- Check the job ticket, sample and repeat length together.
- Confirm whether the die is for labels, tags, cartons or another format.
- Note any known changes since the last production run.
Measure the Critical Dimensions That Affect Fit
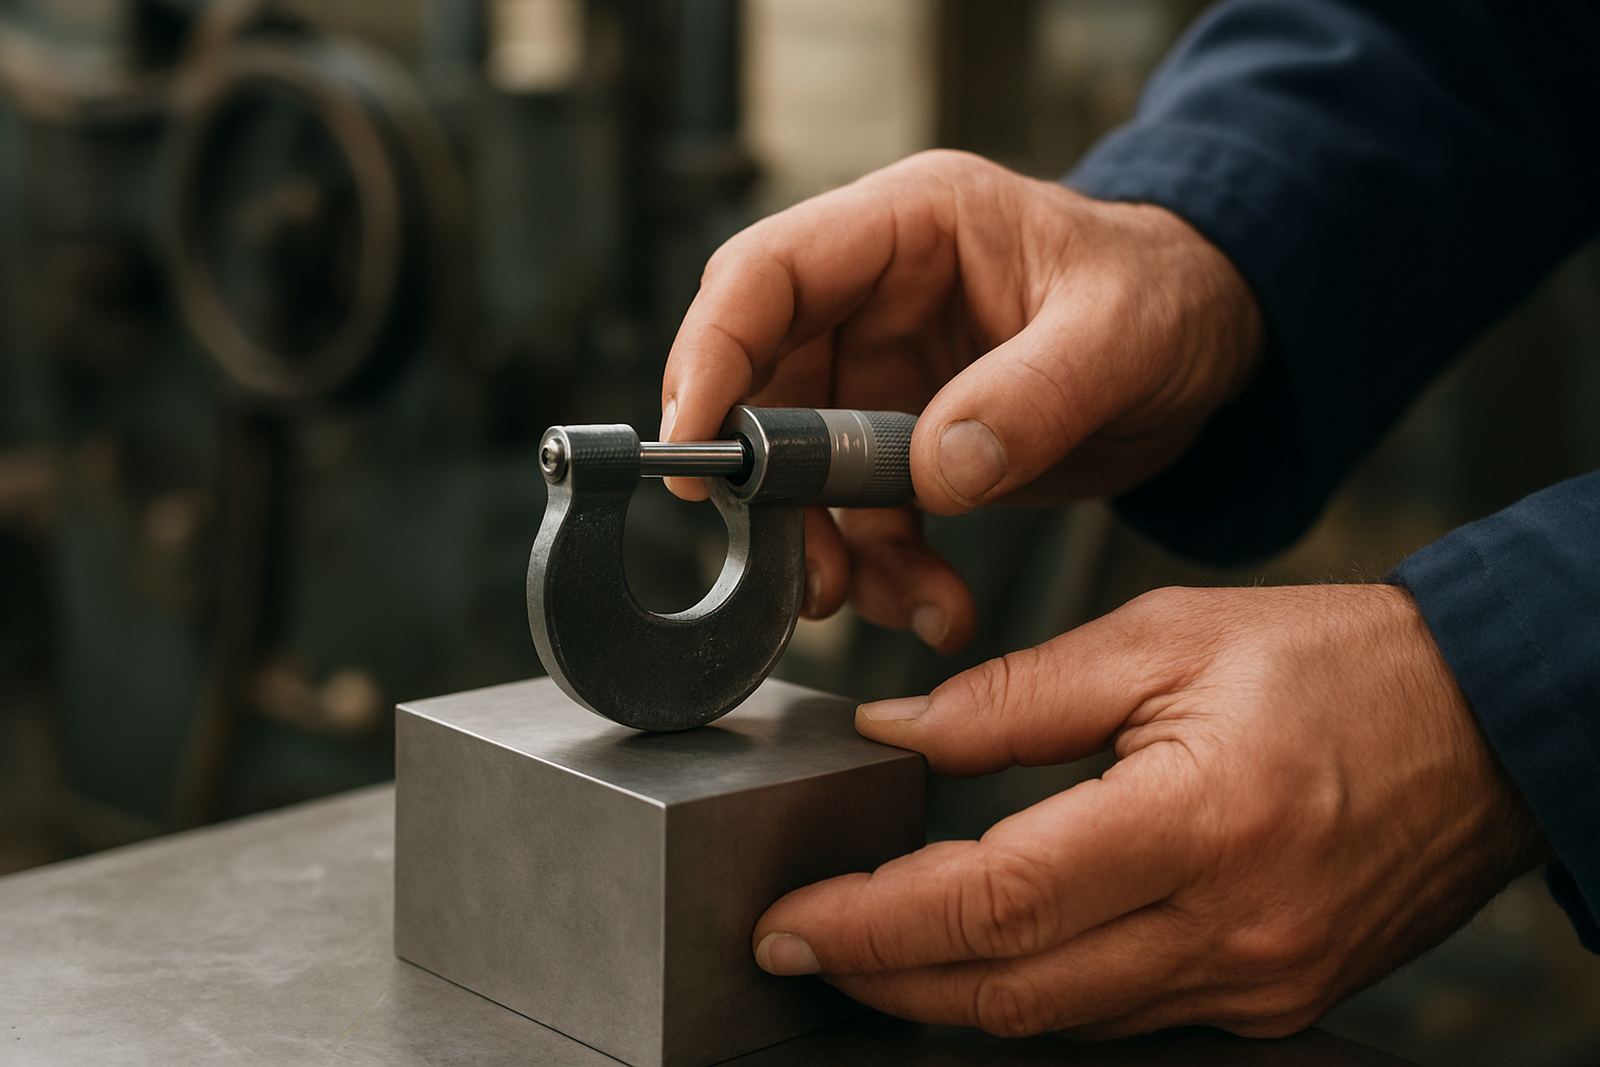
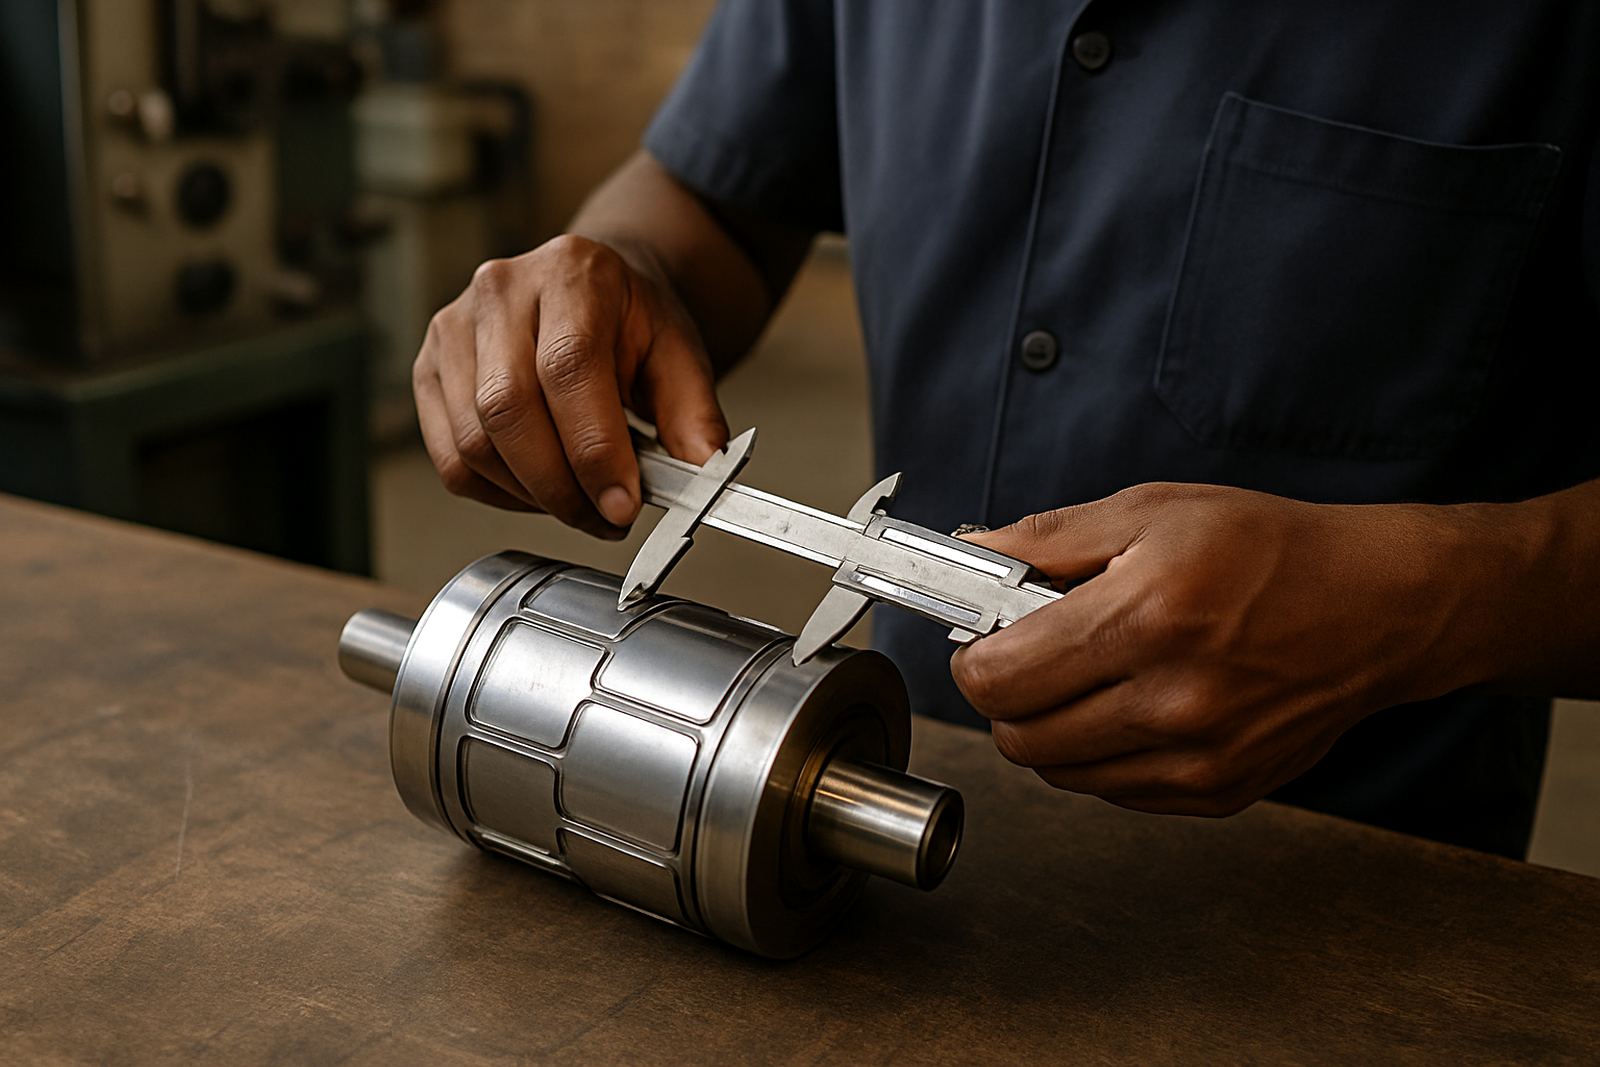
For rotary solid dies, flexible magnetic dies and magnetic cylinders, the important measurements are not just the overall size. You need the working dimensions that affect how the die runs on the press and how the finished label cuts. That includes the repeat circumference, face width, cutting depth, bearer condition and any register features. If the die has been repaired before, measure the repaired area as well, not only the original sections.
Use a steel rule, vernier calliper and, where needed, a circumference tape or accurate wrap method. On smaller label dies, even a fraction of a millimetre can matter. On larger repeat jobs, the actual problem may be cumulative error across the full repeat, so measure more than once. It is also worth checking whether the die is worn unevenly on one side, especially on jobs that have run hard in humid coastal conditions around Durban or Gqeberha.
- Repeat length or cylinder circumference.
- Face width and usable cutting area.
- Bearer height and wear pattern.
- Register holes, lugs or mounting references.
- Any bent edges, nicks or flat spots.
Check Wear, Not Just Size
An older die often measures close to the original drawing but still performs badly because the cutting edge is tired. That edge may be rounded, chipped or uneven from long runs, pressure changes or poor storage. If the die has been in use for years, look for signs that the cut is no longer crisp on one side. This matters with self adhesive labels where slight drag can cause matrix problems and poor stripping.
For flexible magnetic dies, check the magnets for lifting, cracks or loss of hold. For solid rotary dies, inspect the bearer surfaces and any scoring on the cylinder. If you can see burrs, this is usually worth mentioning straight away. A simple note like “left edge worn” or “bearer polished on drive side” gives far better results than sending only a size measurement. On the press floor, small wear points become stoppages very quickly when the shift is under pressure and load-shedding has already eaten into production time.
- Look for dull edges, chips and flattened cutting points.
- Check for uneven wear across the width of the die.
- Inspect magnets and bearer surfaces for damage.
- Note whether the die still cuts cleanly on all sides.
Record the Mounting Details Before You Strip the Job
Many repeat delays happen because the die size is correct but the mounting details are missing. Record how the die was fixed to the press, which direction it runs, and where the register marks sit. If there were packing strips, shims, bearer adjustments or a special adhesive layer, include that information too. Even a good die can behave differently if it is mounted with the wrong thickness or the wrong pressure profile.
For converters in Johannesburg or Pretoria, where jobs are often turned around in tight windows, this saves a second visit to the machine. For coastal sites, it also helps because humidity can change the way the substrate feeds and how the die behaves on press. If you are unsure, take clear photos of the front, back, edges and any mounting features. A few decent pictures can show more than a hurried measurement scribbled on a scrap of paper.
- Note press direction and feed orientation.
- Record mounting thickness, shims and packing used.
- Capture photos of both faces and the edges.
- Mark any register or timing references clearly.
Use the Old Die to Protect the Next Repeat
Once the measurements are taken, compare them with the last approved sample and the current production target. If the old die has drifted, you may need a regrind, cylinder refurb or a slightly adjusted remake rather than a straight copy. That is often the difference between a repeat that runs first time and one that chews through material. A proper check now can also highlight whether bearer setting or press trial support is needed before the new die goes out.
It is also a good time to decide what to keep and what to change. If the old die still performs well, a repeat matching order can be quick. If the job has changed, write down the new spec in plain language. A useful note might say that the label now needs a tighter corner radius, a stronger kiss cut, or a clearer peel on the liner. Small details like that matter on press, especially when operators are trying to keep production moving through busy shifts and municipal power interruptions.
- Compare the die against the approved sample, not memory alone.
- Decide whether the job needs repeat matching or a remake.
- Keep notes on any planned changes to the cut.
- Ask for support if the press had to be adjusted on the last run.
A Germiston Example: Why Clear Measurements Save a Second Trip
A label printer in Wadeville recently brought in an older magnetic die for a repeat run on a short label job going to retail packs in Cape Town. The outside dimensions looked fine at first glance, but the cutting edge on the lead side had worn more than the rest. The repeat length was also noted differently on two old job sheets. By measuring the die properly, checking the worn edge and matching it against the last sample, the team avoided a remake that would have been too loose on the liner.
That is a common story across South Africa. A die may have cut well for years, then start to drift just enough to cause matrix breaks, poor stripping or a slow press. When the measurement is done properly, the new tool can be made to the right tolerance and packed for dispatch with less guesswork. It also helps the production manager, the technical sales team and the dispatch side work from the same facts, which is what you want when a job has to leave Germiston and reach Durban or Bellville on time.
- Measure the die, not only the finished label sample.
- Check for wear before assuming the old size is still valid.
- Keep one clear job record for repeat orders.
- Use photos and notes to reduce avoidable errors.
What to Send With a Repeat Enquiry
When you use the enquiry form on the contact page, include the die type, the measurements you took, the condition of the die and the town where the job is running. If you have the previous artwork or sample dimensions, add those too. The more complete the information, the easier it is to advise on a rotary solid die, flexible magnetic die or magnetic cylinder that matches the job properly.
Good repeat work is usually built on plain, practical information. A clean measurement, a clear photo, and a short note about wear can prevent delays later in the week. That matters whether the job is being delivered in Johannesburg, Pretoria, Durban, Pinetown, Cape Town, Bellville or Gqeberha. Measuring an existing die well is not complicated, but it does need care. Do it once, do it properly, and the next repeat is far less likely to surprise you.
- State the die type and job reference.
- Include measurements, wear notes and photos.
- Confirm the delivery town and any time pressure.
- Send the sample size if the printed result has changed.