
Start With the Final Trim Size, Not the Artwork Size
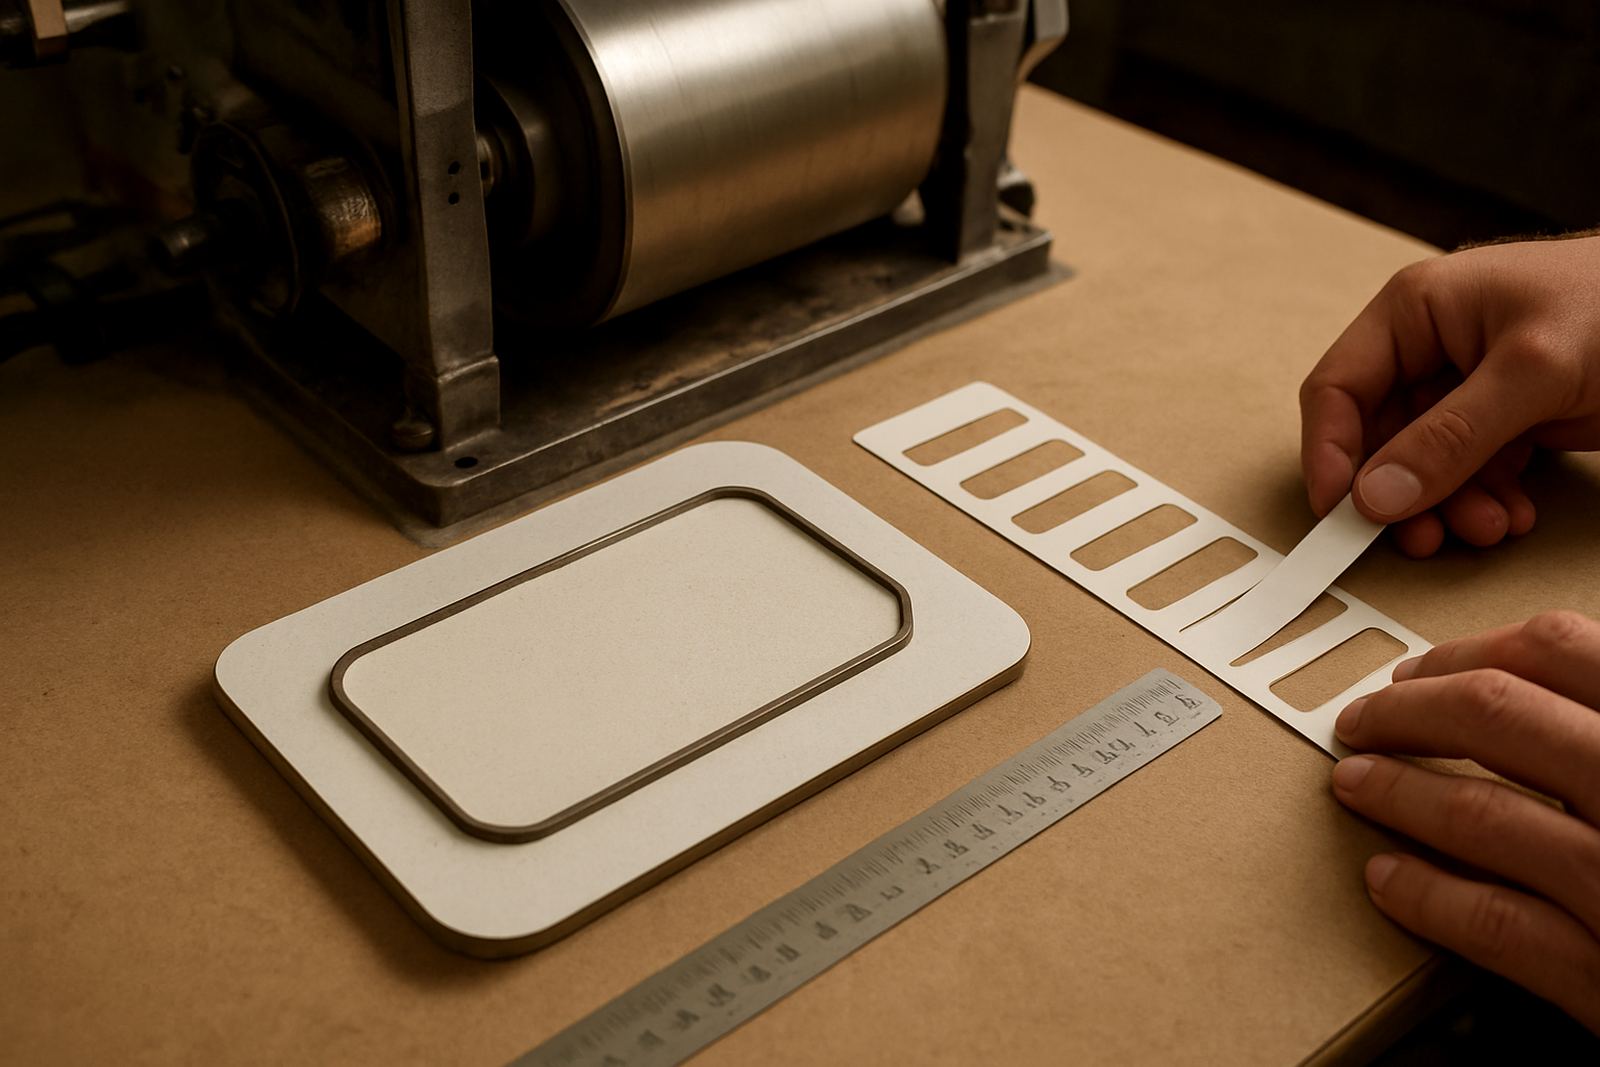
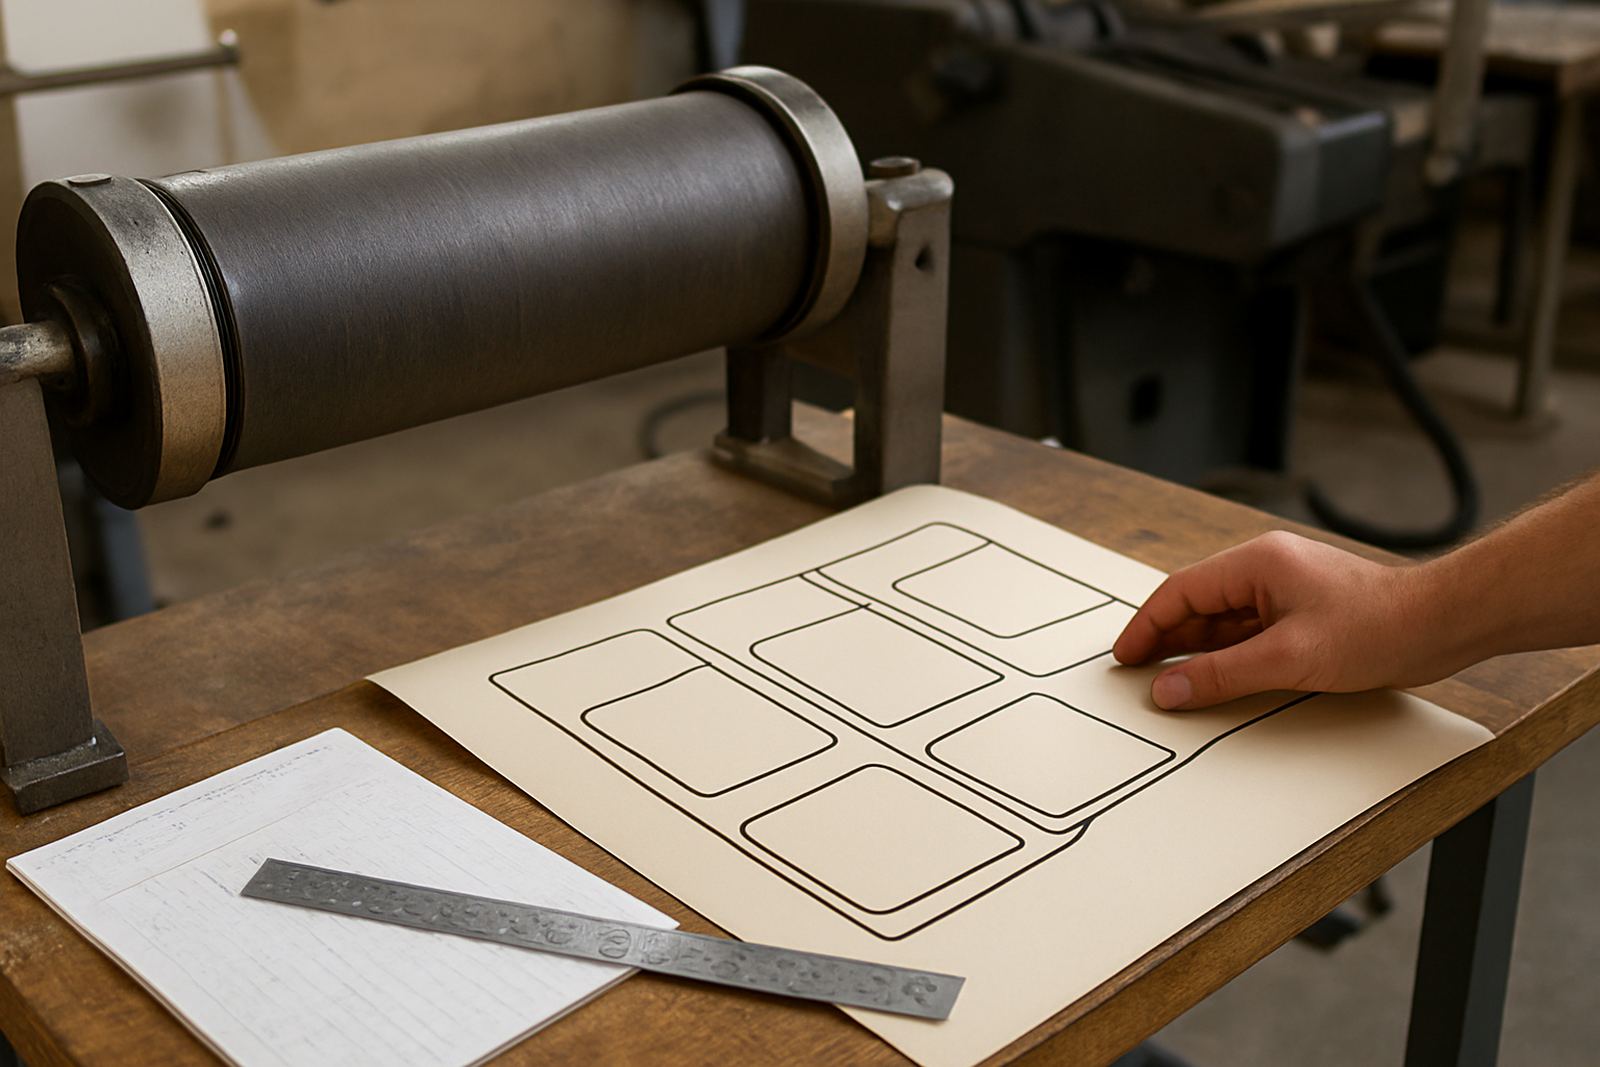
Before anyone starts drawing, lock in the finished label size, corner shape and any kiss-cut or die-cut detail. The trim line is the real size that matters. Once that is fixed, bleed can be added around every outside edge. On short run label work, even 1 mm too little can show up as a white line after cutting, especially on lighter stocks or textured face materials.
For most pressure-sensitive labels, allow enough bleed for normal press movement and finishing tolerance. Small labels need less absolute bleed than large panels, but they are often more unforgiving because there is less room to hide a shift. When a label has a border, foil edge or solid colour block, plan extra margin instead of trying to hold the artwork too tight to the cut.
- Confirm finished size before artwork begins
- Mark trim line, bleed area and safe text area separately
- Allow extra caution on small labels with borders
- Check whether the job will be sheeted, rewound or die cut on press
Build Bleed Into the Artwork, Not at the End
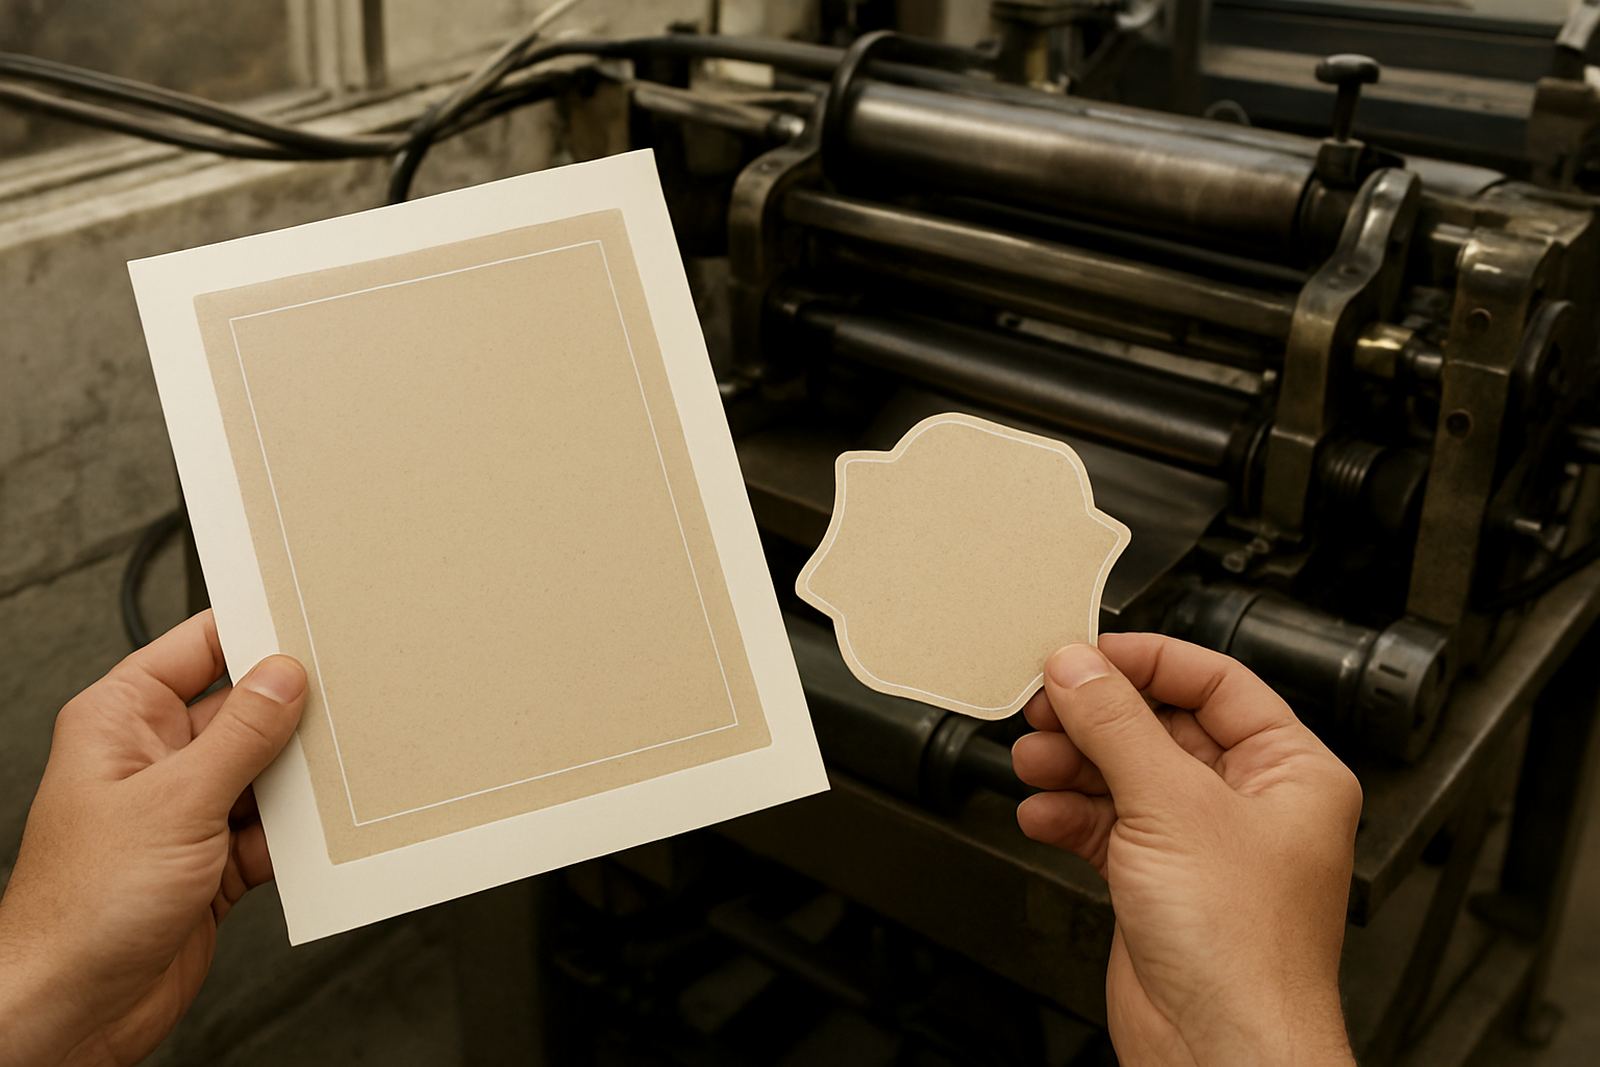
Bleed should be part of the design from the first version, not added as a rushed fix after proofing. Extend background colours, images and solid panels beyond the trim line in a controlled way. Do not stop patterns or colour blocks right at the cut line because any slight movement in print or die setting can leave an exposed edge. This is where many jobs lose time.
Text, logos and barcode bars should stay inside a safe zone. A clean looking proof on screen can still fail on press if important detail sits too close to the edge. For curved labels, wraparound panels and irregular shapes, the safe zone should be checked at the narrowest points too. A label that looks fine in the centre may become tight at the ends or corners.
For labels with a clear border, decide early if the border is meant to sit centrally or whether it can drift slightly. If the artwork needs a perfect-looking border, you need more bleed and a more careful die set up. That is normal and it is better to plan for it than to fight it after print.
Match Bleed to the Cutter, Die and Press Tolerance
Bleed is not only an artwork issue. It must suit the press, the die, the substrate and the finishing method. A flexible magnetic die on a clean converting line behaves differently from a rotary solid die, and a warm afternoon in Durban can affect material handling differently from a dry winter morning in Pretoria. Material stretch, web tension and blade wear all matter.
When the job is being repeated, compare the new artwork to the previous run and do not assume the old setting will still be correct. Changes in stock thickness, adhesive, liner or press speed can shift the cut position slightly. If the printer or converter has had to adjust bearer setting, magnet checks or cylinder setup, the artwork should be reviewed again before approval.
- Check if the stock stretches, curls or shifts under tension
- Allow for slight movement on long runs and repeat work
- Review older jobs before copying the old bleed blindly
- Keep borders, fine rules and corner details away from the cut line
Use a Safe Zone That Protects Text and Variable Data
Once the bleed is set, the inside safe zone becomes just as important. Any text, serial number, barcode, QR code or batch detail needs enough clearance from the trim line so cutting variance does not clip it. This is especially important when a label carries small legal text or municipal wording where a missing character creates a real issue. Keep variable data even further inside the safe area if the layout is crowded.
If artwork includes a lot of fine detail, build breathing room into the layout rather than squeezing everything into the corners. On a busy label, the eye will notice a sliver of white far more quickly than a slightly wider margin. That is why a practical safe zone is part of the job, not a nice to have.
For artwork that must fit around a curved bottle or packet, test the layout against the smallest usable area, not just the widest face. That way the print stays legible after conversion and application. It saves arguments later on the factory floor and in dispatch, when nobody wants a remake because the barcode sits too close to the edge.
Checklist Before You Release the File to Print
Good bleed planning is easiest when the file is checked the same way every time. A short pre-flight routine catches most problems before the job reaches the press. It also helps the converter if the artwork is being matched to an existing die or a magnetic cylinder that must stay within precise tolerances.
- Final size confirmed and marked clearly
- Bleed extends beyond all outside edges
- Trim line shown but not mistaken for artwork
- Text, logos and barcodes inside safe zone
- Borders checked for equal distance and corner behaviour
- Repeats, patterns and solids extended past cut line
- Any special finish, foil or varnish aligned to the same plan
If anything is unclear, do not guess. A quick proof check is easier than fixing a stack of labels after cutting. In Wadeville and across the country, from Germiston to Cape Town and Gqeberha, the same rule applies: a file that is clean on paper is cheaper to run than one that needs rescue on press.
When to Ask for Press Trial Support or a Repeat Match
Some jobs need more than a standard bleed check. If the label has a tight border, a non-standard shape, or has to repeat exactly against an existing setup, ask for technical review before release. A repeat match is useful when a customer wants a reprint that must sit with an older production run, or when a cylinder refurb or die regrind has changed the cutting profile slightly.
Press trial support is worth considering when the stock behaves oddly, the label is narrow, or the finish is affected by heat, humidity or static. In South Africa, load-shedding can also change timing and machine conditions, so it helps to plan enough margin for a careful setup rather than rushing the first run. Better bleed planning gives the press team more room to work without sacrificing the look of the label.
For label printers and converters, the safest approach is simple: plan the bleed, protect the content, and allow the die room to do its job. That keeps the label neat, the trim clean and the customer off your back.